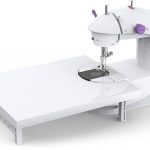
I’m back with my 2nd Sewing make! This time, I tried a different pattern from YT here. It worked fine on my Varmax mini sewing machine and I’m really happy how this machine is performing. Check out this post where I introduce it.
I hesitated to share this project, because I’m not absolutely in love with it but, I decided to post it. After all, this is my sewing journey so I should document the highs and lows, the successes and not so successes! 😀
I bought my fabric from my local Dollar Tree, they’ve extended the choices and it is very good 100% cotton. There’s so many colors, patterns there and I had a lot of fun shopping there. So, let’s talk more about my project.
What I did Well
Let’s begin with the aspects I’m proud of:
- I followed the video tutorial and the steps seemed easy to follow. I rewatched it several times to ensure I understood, but it wasn’t challenging or beyond my capabilities.
- I sewed the circles on my machine and the stitches turned out beautifully.
- I’m really enjoying my mini sewing machine and eager to keep learning!
What I can do Better
Now, let’s discuss what I’ve learned and areas for improvement:
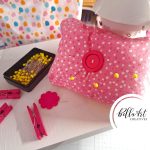
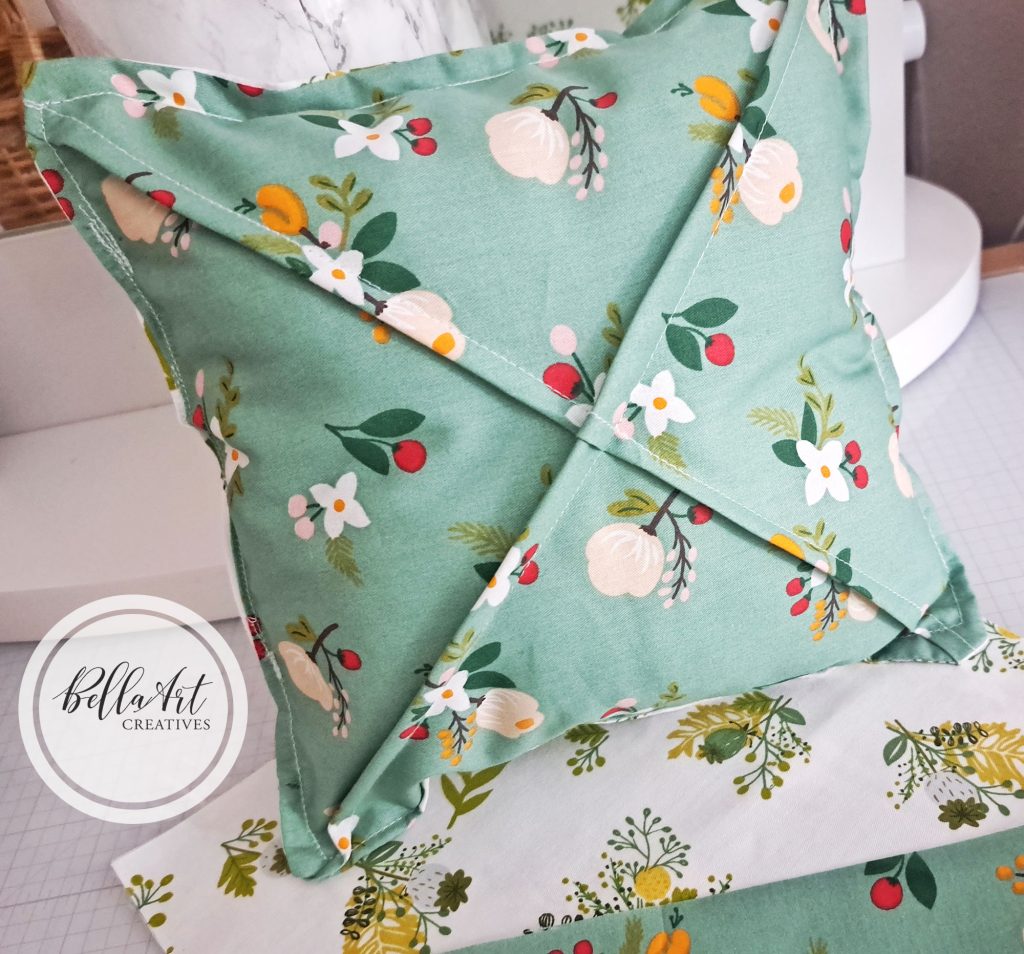
- I should have opted for a brighter, more colorful fabric. The one I chose is mostly white with pastel pink lines, which I find a bit too light and somewhat dull for this project.
- I left a small opening to stuff the cushion with polyfil, but I still need to practice stitching it closed by hand… a work in progress! LOL
- If I decide to make this again, which I will, I want to make it larger. This time, I used a coffee mug to trace my circles on the fabric, but perhaps next time I should use a saucer. I didn’t account for a 1-inch seam allowance all around.
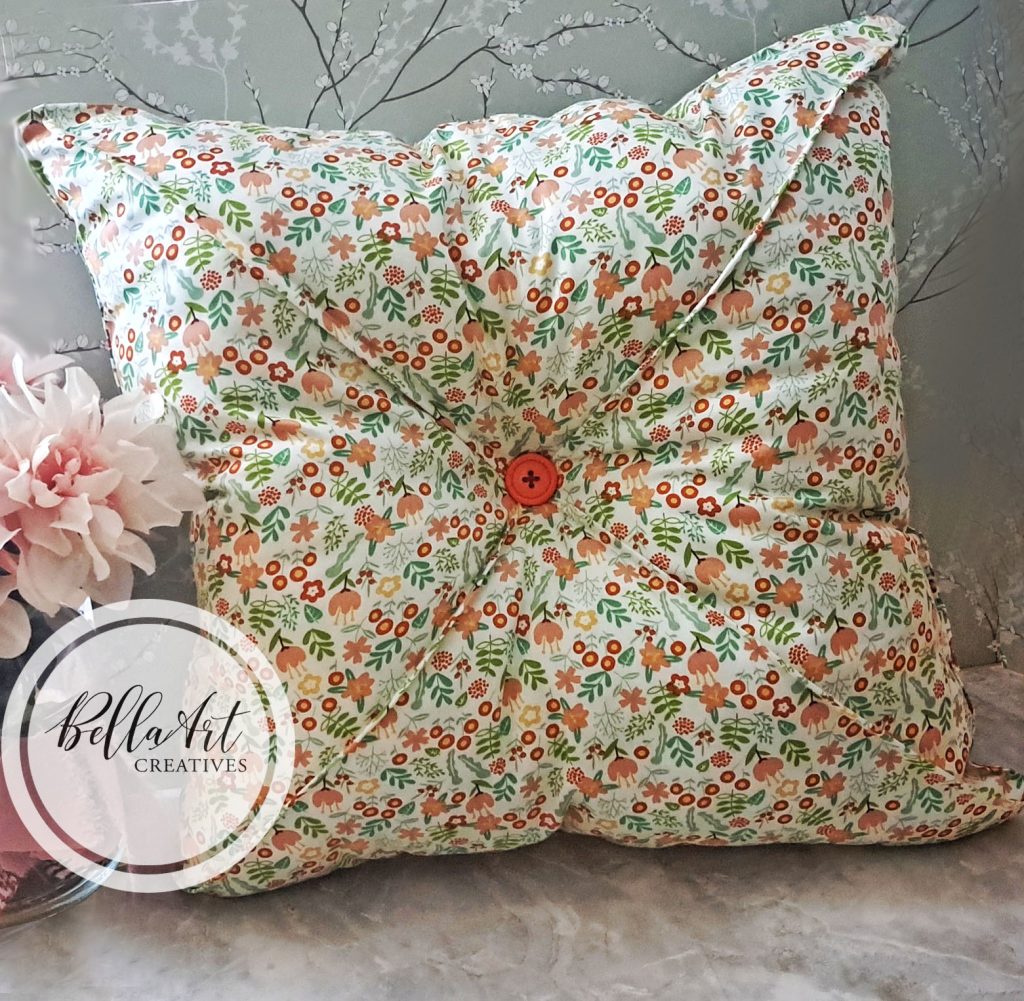
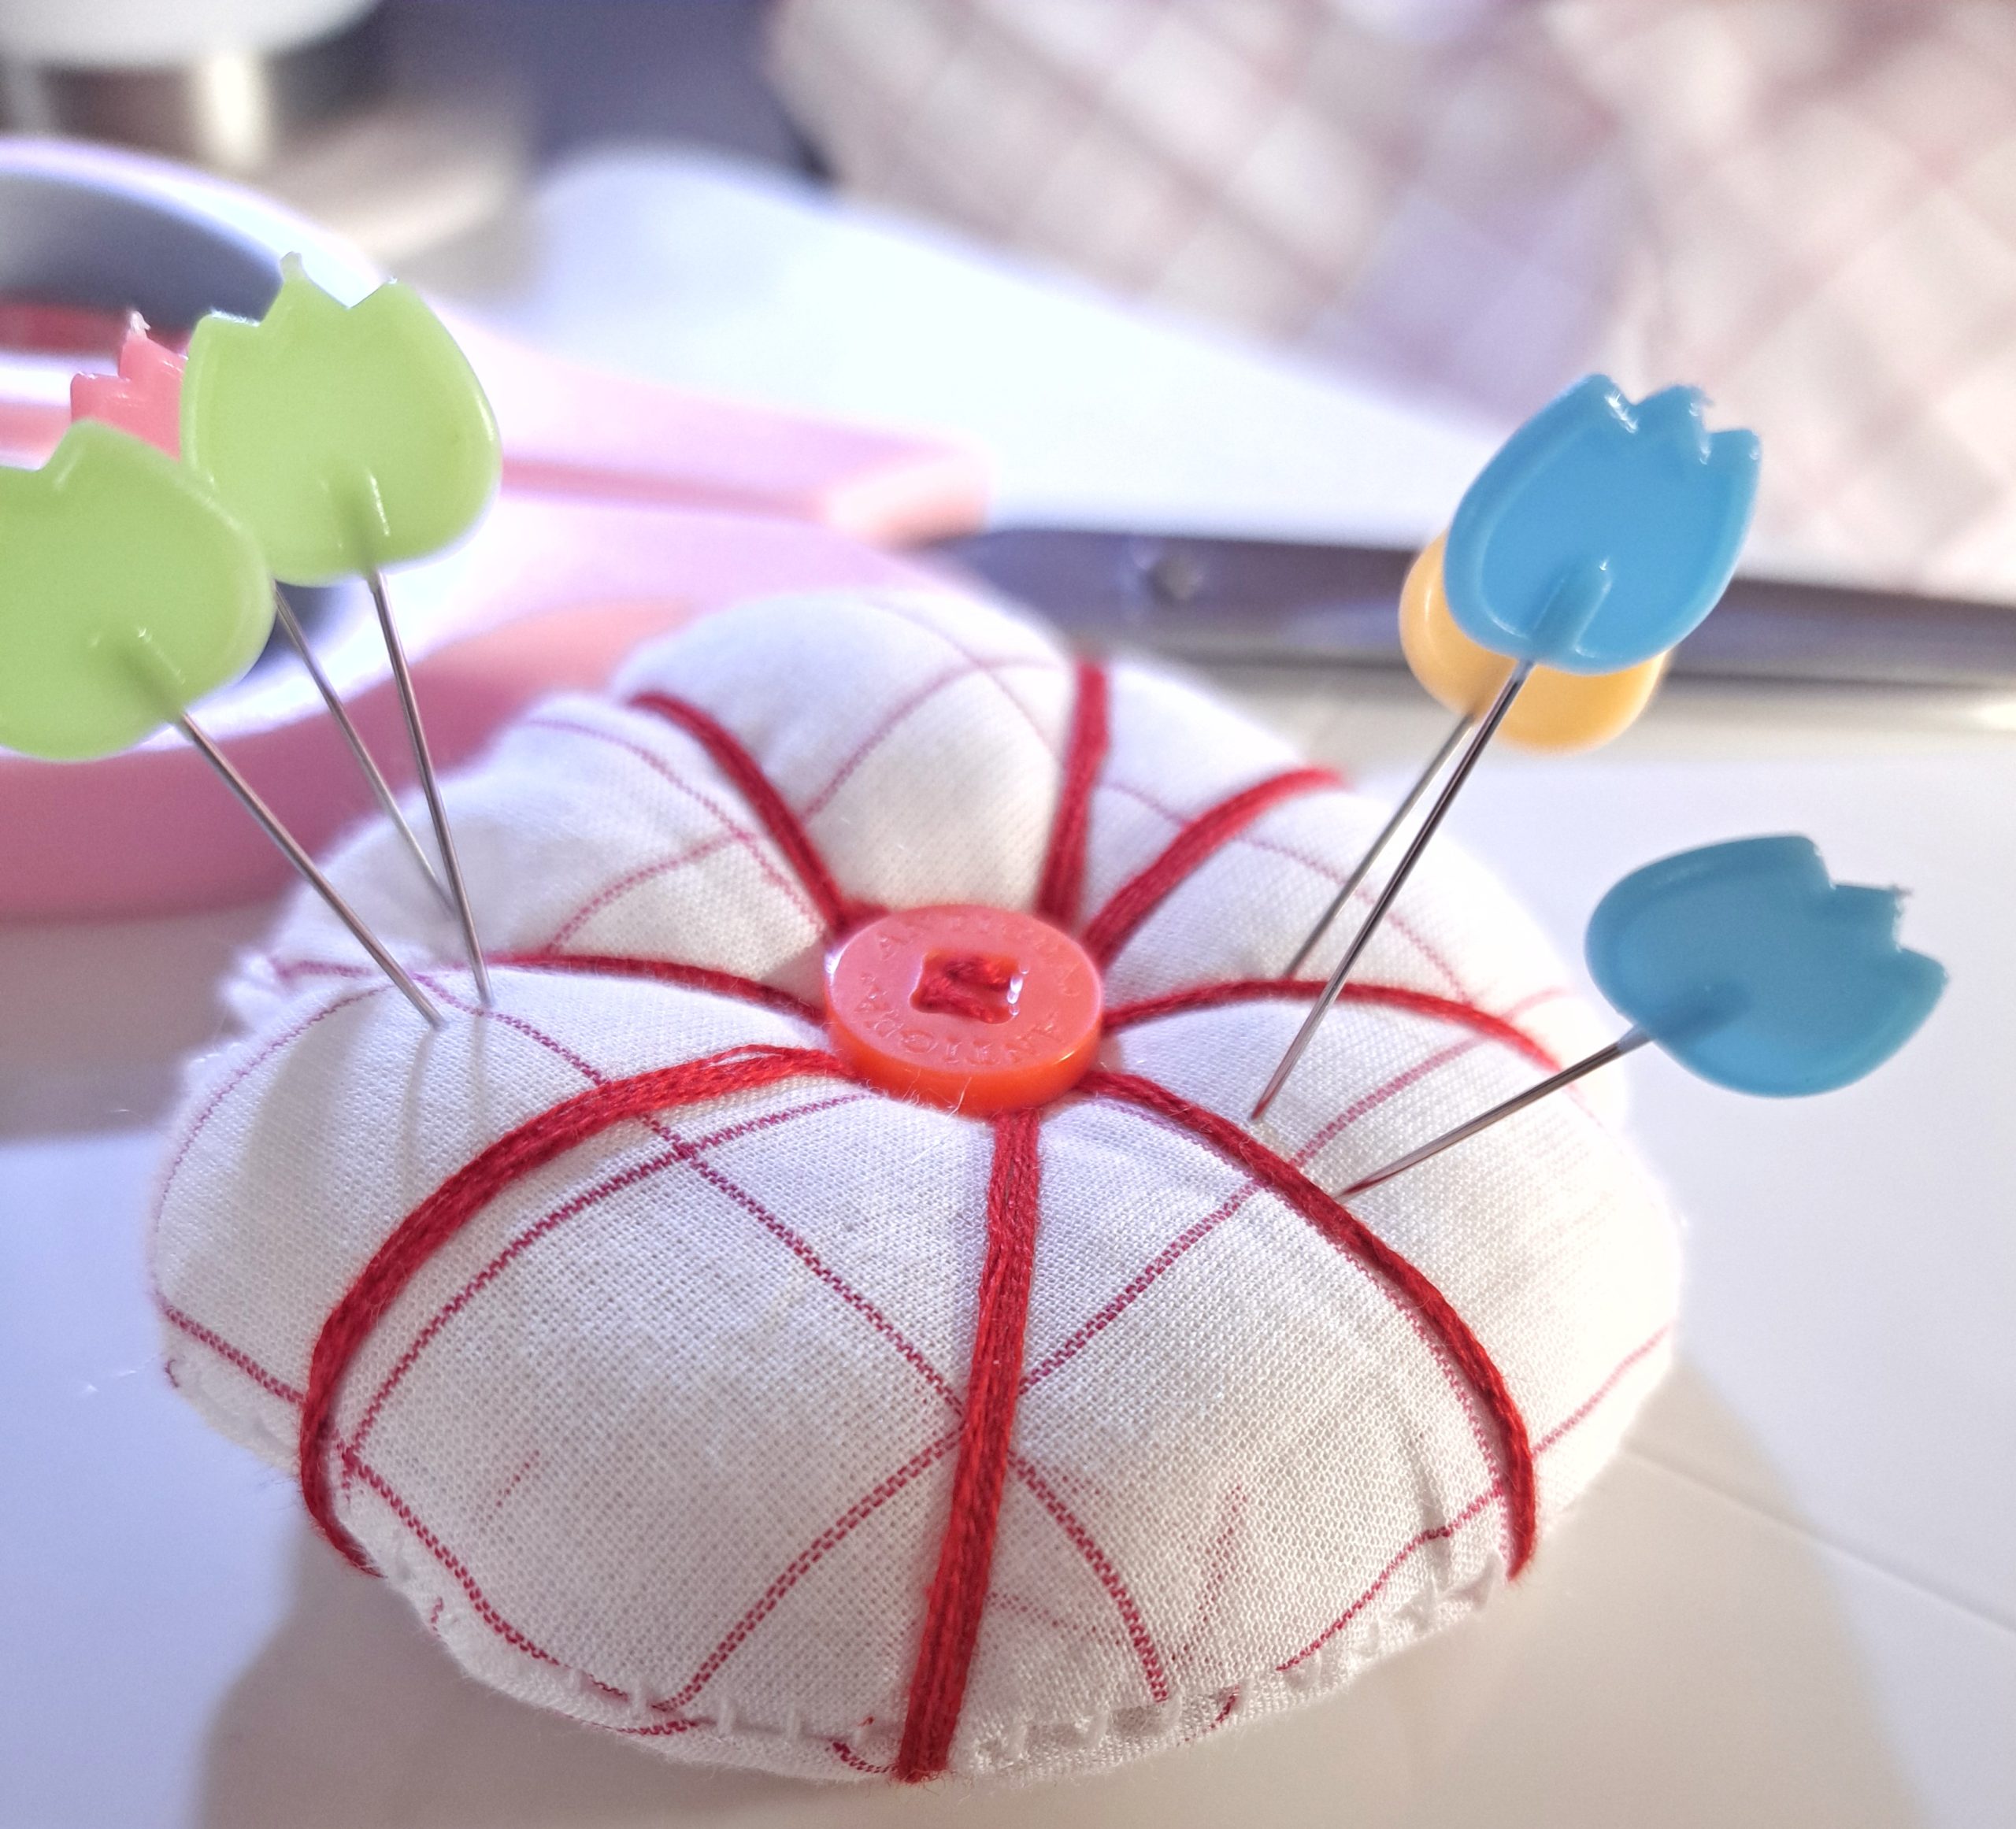
I took a couple more pics, I still think it turned out super cute and it holds my adobrable pins!

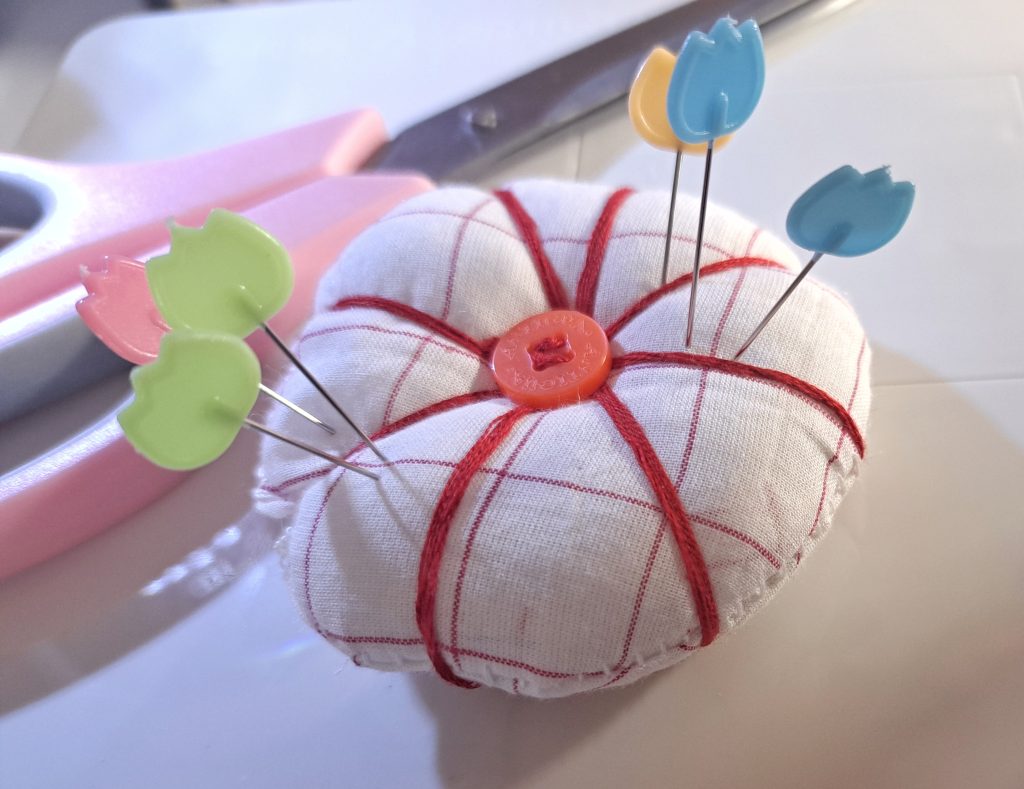
Because of my stitching on felt and cards, I have a lot of embroidery threads so I used DMC deep red to sew around all the corners including the buttons. I usually stitch with 3 strands and so I did that here. There’s a button on the top and bottom center of the cushion.
What I’d like to Learn Next
- Learn my Machine. I want to continue learning the capabilities of my mini sewing machine so I’ve been pouring through lots of YT videos, I need to feel comfortable and confident when sewing. Right now any little thing I do on it scares me cause I don’t want to break it! Time will help.
- Hand Stitching. This is really important I’m finding out and so I want to really understand how to blind stitch. It comes in handy for making things like pillows and these pin cushions!
- Enjoy the journey. I’m a perfectionist and hard on myself way too much. “This is not a race”, I keep telling myself. “Take your time Kim”, I say and I need to do that. It’s not my job, it’s my hobby and it should be fun.
So, how do you think I did? Leave me a comment below! Thank you for Reading!
If you want to shop this post, I have a few links below to some of the products I used. The buttons were from my stash.
Some of the links to the products I used are affiliate links which means that when you shop with them, I’ll receive a small commission at no extra cost to you. Your support helps me run my small crafty business. Thank you so much!

- Varmax Mini Sewing Machine – AZ (great for beginners)
- Basic Sewing kits
- Organizer Bag (comes with double layers that can be removed to fit the mini machine)
- Fabrics
- Guggenhein IX 9″ Scissors for Cutting Fabric
- DMC embroidery thread (assorted colors)