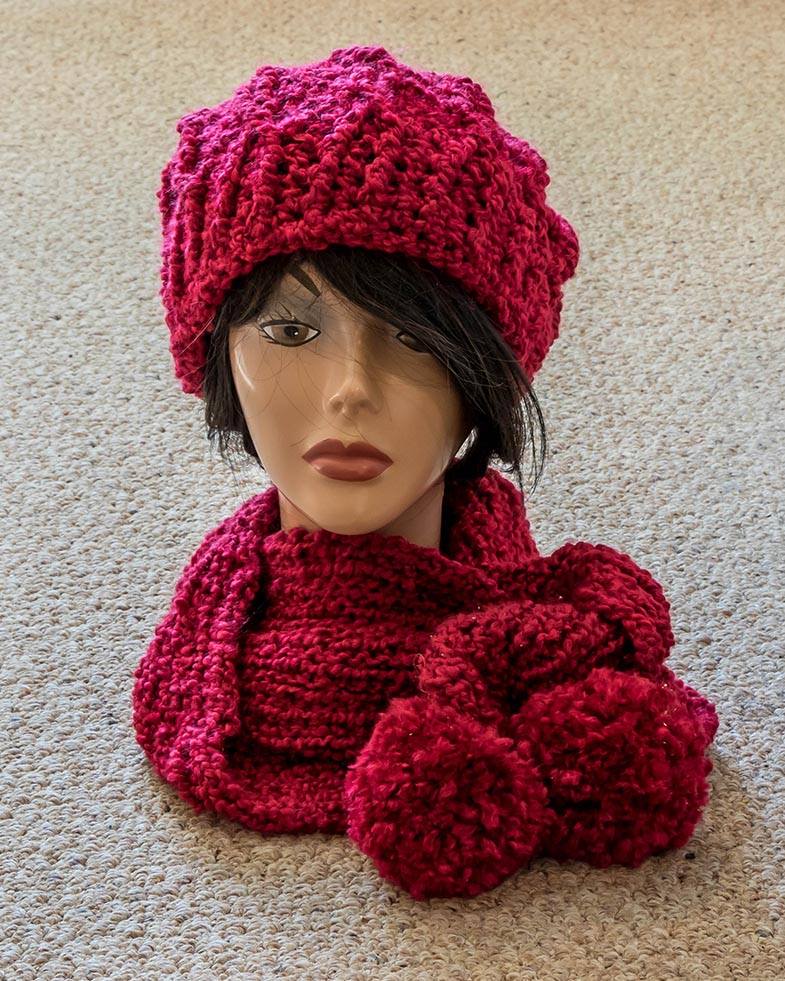
Hi my friends, this post is a throwback to my Winter Hat collection that I made several years ago. You can check out that post here. But in this post, I’m talking about one particular hat/scarf set I made where I altered the crochet pattern for the hat and I knitted the matching scarf.
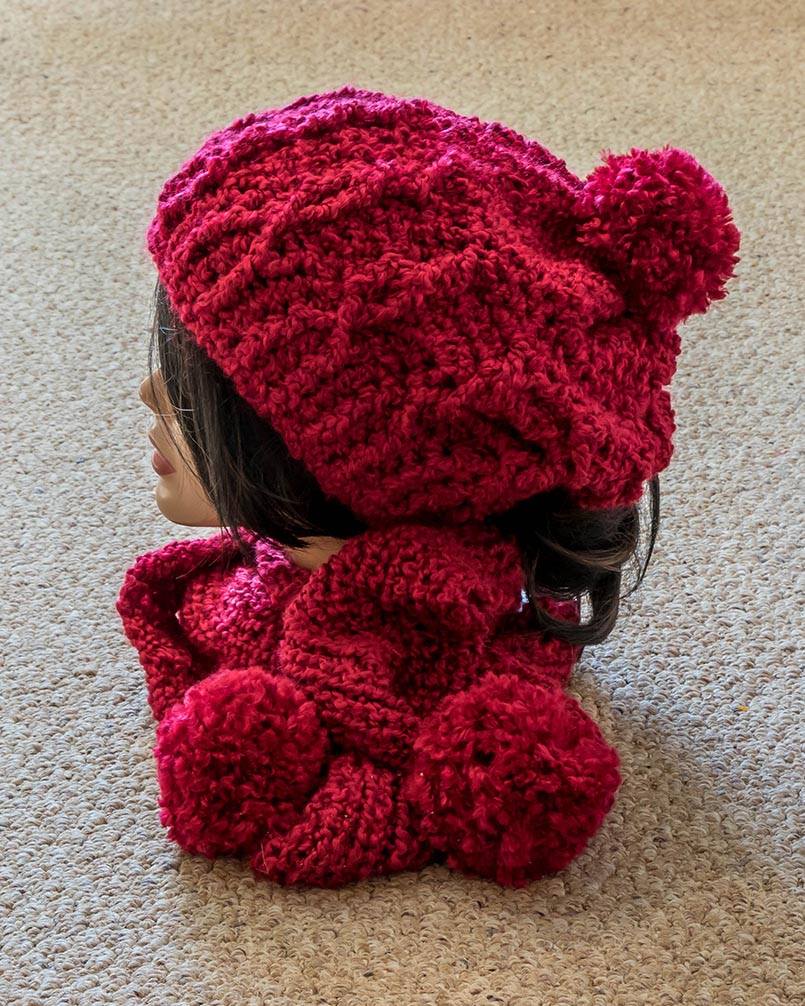
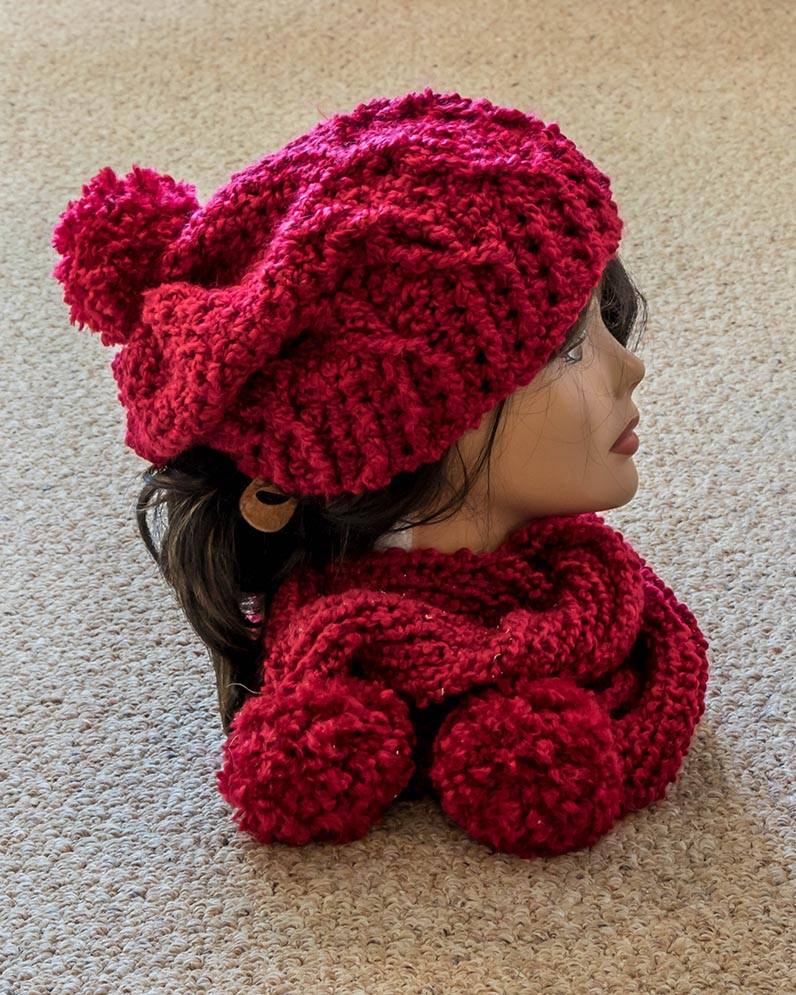
I loved making this set so much. The yarn I used was Lion Brand’s Homespun in Candy Apple Red. Homespun is not the easiest yarn to work with because of its texture but with a little patience and persistence, it’s worth it and in the end you have one lovely fabric. This set was to wear during Christmas but it could be worn all throughout winter.
Altering the Crochet Hat Pattern
Sometimes, I have altered a crochet pattern and this time it was because I ran out of yarn. I usually make sure I buy enough but the yarn used in the pic above came from a local store where there was only these 2 balls of this colorway left. I knew I was going to knit the scarf. But the hat was a last minute decision.
I knew I wanted to crochet a cabled hat. I have no qualms about mixing knitting with crocheting, I love them both. However, I hadn’t crocheted cables in awhile so I had to do some research. I looked for an easy pattern on YouTube and found one that I liked. It wasn’t until I got all the way to the crown of the hat that I realized I wouldn’t have enough yarn to finish the pattern. So this is where ingenuity and being creative comes in.
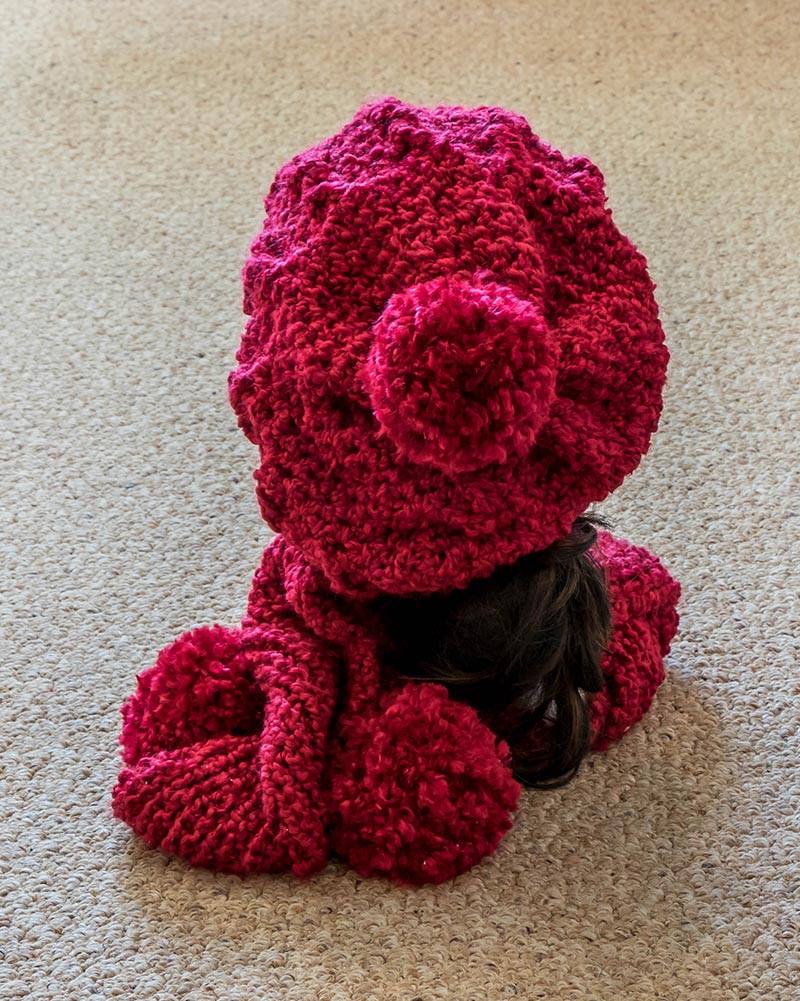
In the pattern, you make sets of cables all the way to the top of the hat so since I was working with less yarn and I had to make sure to leave enough for a pom pom, I altered the pattern and only crocheted 2 sets of cables and the rest I used all half double crochet stitches then cinched up at the top to make it more of a slouchy hat. I love how it came out, plus I had enough yarn for the pom pom and just a little left over!
When to know to Alter a Pattern
It’s hard to answer that, I think it depends on several factors. In this case, I’ve altered the pattern only because I didn’t have enough yarn to finish. Other reasons to alter a pattern:
- I don’t like how the stitches look with my yarn choice so I might change the type of stitch; or I might change the yarn altogether. Another reason I’d alter a pattern is;
- I want to add a border as in a prayer shawl or I want to use the basic stitches in a pattern but I want to change the shape as in turning a beanie hat into a slouchy hat.
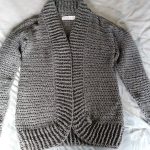
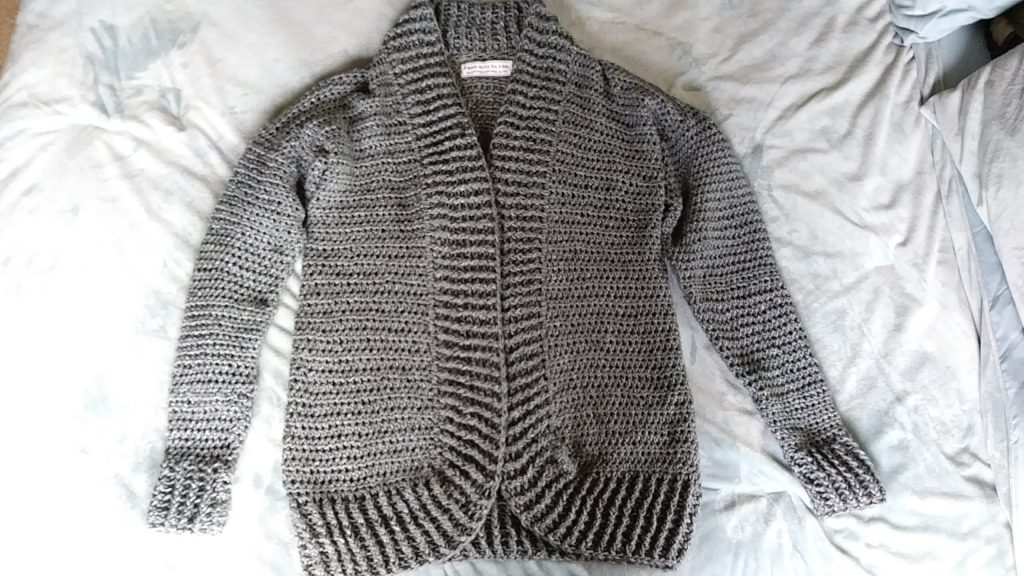
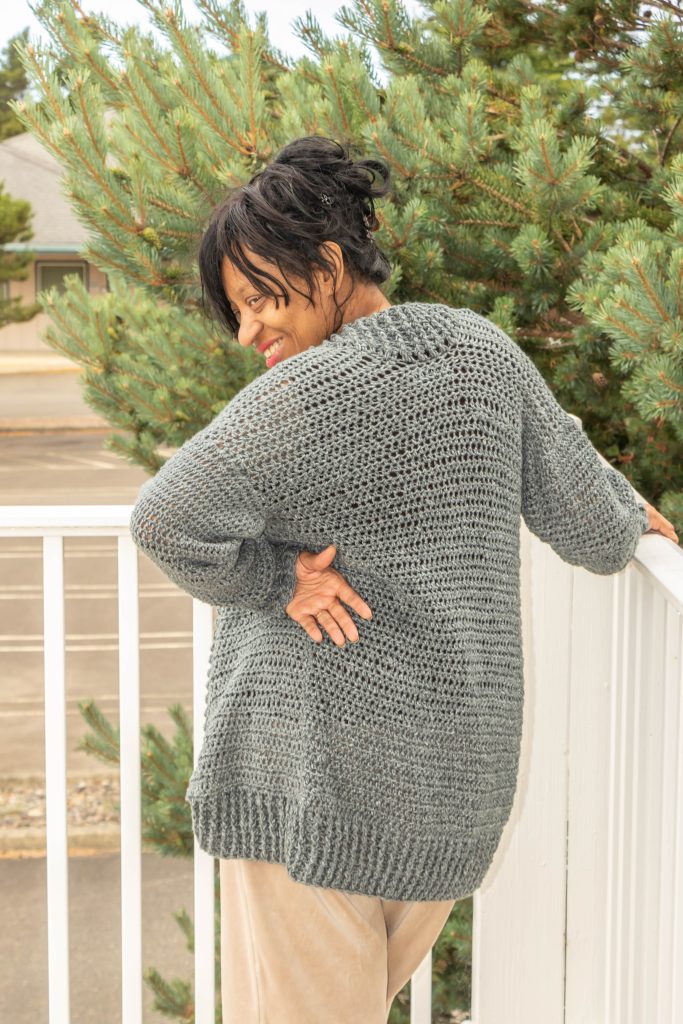
Once I was crocheting a sweater and the pattern was for short sleeves, but I wanted long sleeves so I followed the pattern but added long sleeves at the end and it turned out lovely. Here’s a couple of pics, one of me modeling it!
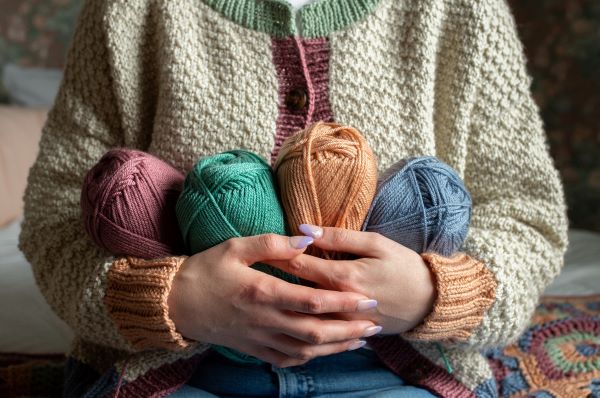
If you choose to substitute the yarn in a pattern, you kinda do so at your own risk, because the designer chose that yarn for a reason. Not all the same yarn weights act the same. For example, Caron Simply Soft is a #4 medium worsted weight yarn, however it feels more like a DK weight yarn. Red Heart with Love, also a soft #4 medium worsted weight yarn, is thicker and stiffer than the Caron Simply Soft so crocheting even the same stitch pattern for both yarns will look differently.
Now, sometimes the designer will give recommendations for substituting yarns but if not, I think it’s best to use the yarn they used but choose a different color. Also, we all crochet differently, our tension, and the way we hold the yarn and hook can yield varying results. Doing a gauge swatch is helpful so you end up with the right size. I don’t think there’s anything wrong with altering a pattern, but I don’t recommend it for a beginner crocheter. I think you need to be comfortable and knowledgeable with the basic crocheting stitches, yarns and hook sizes.
Knitting the Scarf
For my scarf, I used Sheep & Stitch‘s pattern (video tutorial below) except I made it to fit an adult so when it laid flat, it was 6′ long not including the cute pom poms. I’m so proud of how my knitting is coming along. This pattern is a 1 x 1 ribbed stitching so lots of knitting and purling.
If you’re not a knitter, the 1 x 1 ribbed stitch is made by alternating knit and purl stitches in one row and knitting by pattern in every next row. You make a knit stitch when previous row stitch looks like “V” and you make a purl stitch when the previous looks like a “bump”.
Watch the video below, but if it doesn’t come through, catch it here on YT.
Even though the hat and scarf were a different pattern, you can’t tell because of the yarn choice and the stitches compliment each other. I think it really looks good as a set and I’m so proud of myself for making it!
Apologies that you can’t see how long the scarf was because at the time I didn’t have my full size mannequin so I had to choose “Carlotta”! Eventually, I did buy a full model and named her Gertrude (“Gurdy” for short).
A big thanks to my hubby for taking such great pictures!
Although Lion Brand’s Homespun yarn is discontinued, you can still buy it on Amazon. Links below! Thanks for Reading!
Some of the links to the products I used are affiliate links which means that when you shop with them, I’ll receive a small commission at no extra cost to you. Your support helps me run my small crafty business. Thank you so much!

- Lion Brand Homespun Yarns – AZ
- Crochet hooks (set of 9 hook sizes, these are my favorites to use!)