Hi my friends! Yesterday, in my Life Update post, I mentioned my retirement gift…my upgrading to a new sewing machine, The Original Sew Mighty Multi-function Portable Sewing machine! This is definitely a step up from my Varmax Mini Sewing machine. And, I’ll tell you why I needed to upgrade.
Why the Upgrade?
I love my Varmax machine and it will remain in my craftroom as a backup or for very small projects. However, when using it I became quickly aware that I needed some features it doesn’t have. For instance, backstitching is a pain. It can be done, but it takes ensuring the needle is in the fabric, lifting up the presser foot and turning the fabric around then stitch (backstitch) and then repeat to continue sewing. I needed a machine with that feature so I wouldn’t have to go through these steps.
Also, it was clear that I wanted to do other stitches. The Varmax only does 1 stitch pattern. I also needed a better light to see what I am doing and a larger extended table to work on big projects. These are the things I needed. What I also wanted was a larger machine in general. Because I’m a beginner sewist, I’ll more likely use only the SewMighty. I doubt I will purchase a more expensive machine, but you never know. For now in this journey, this is where I am.
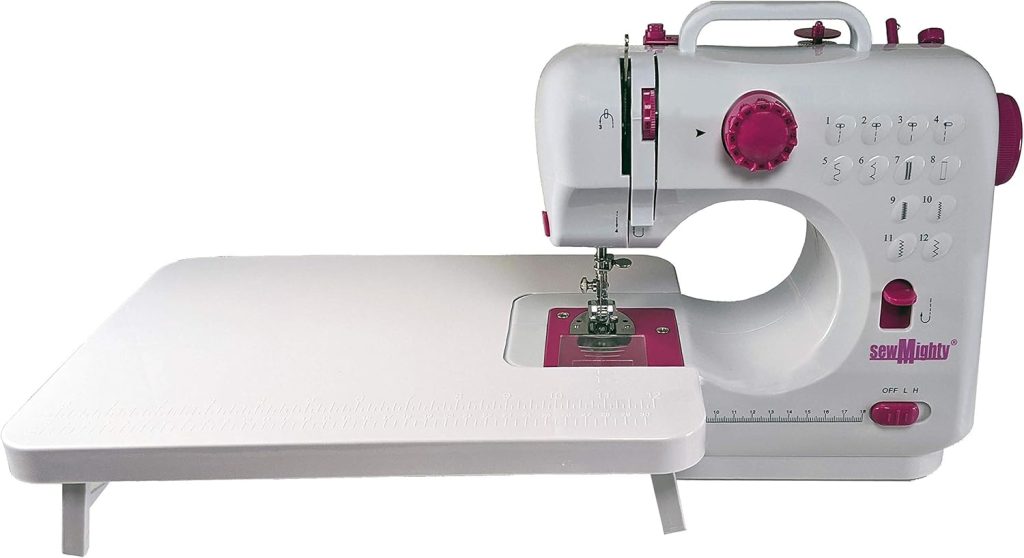
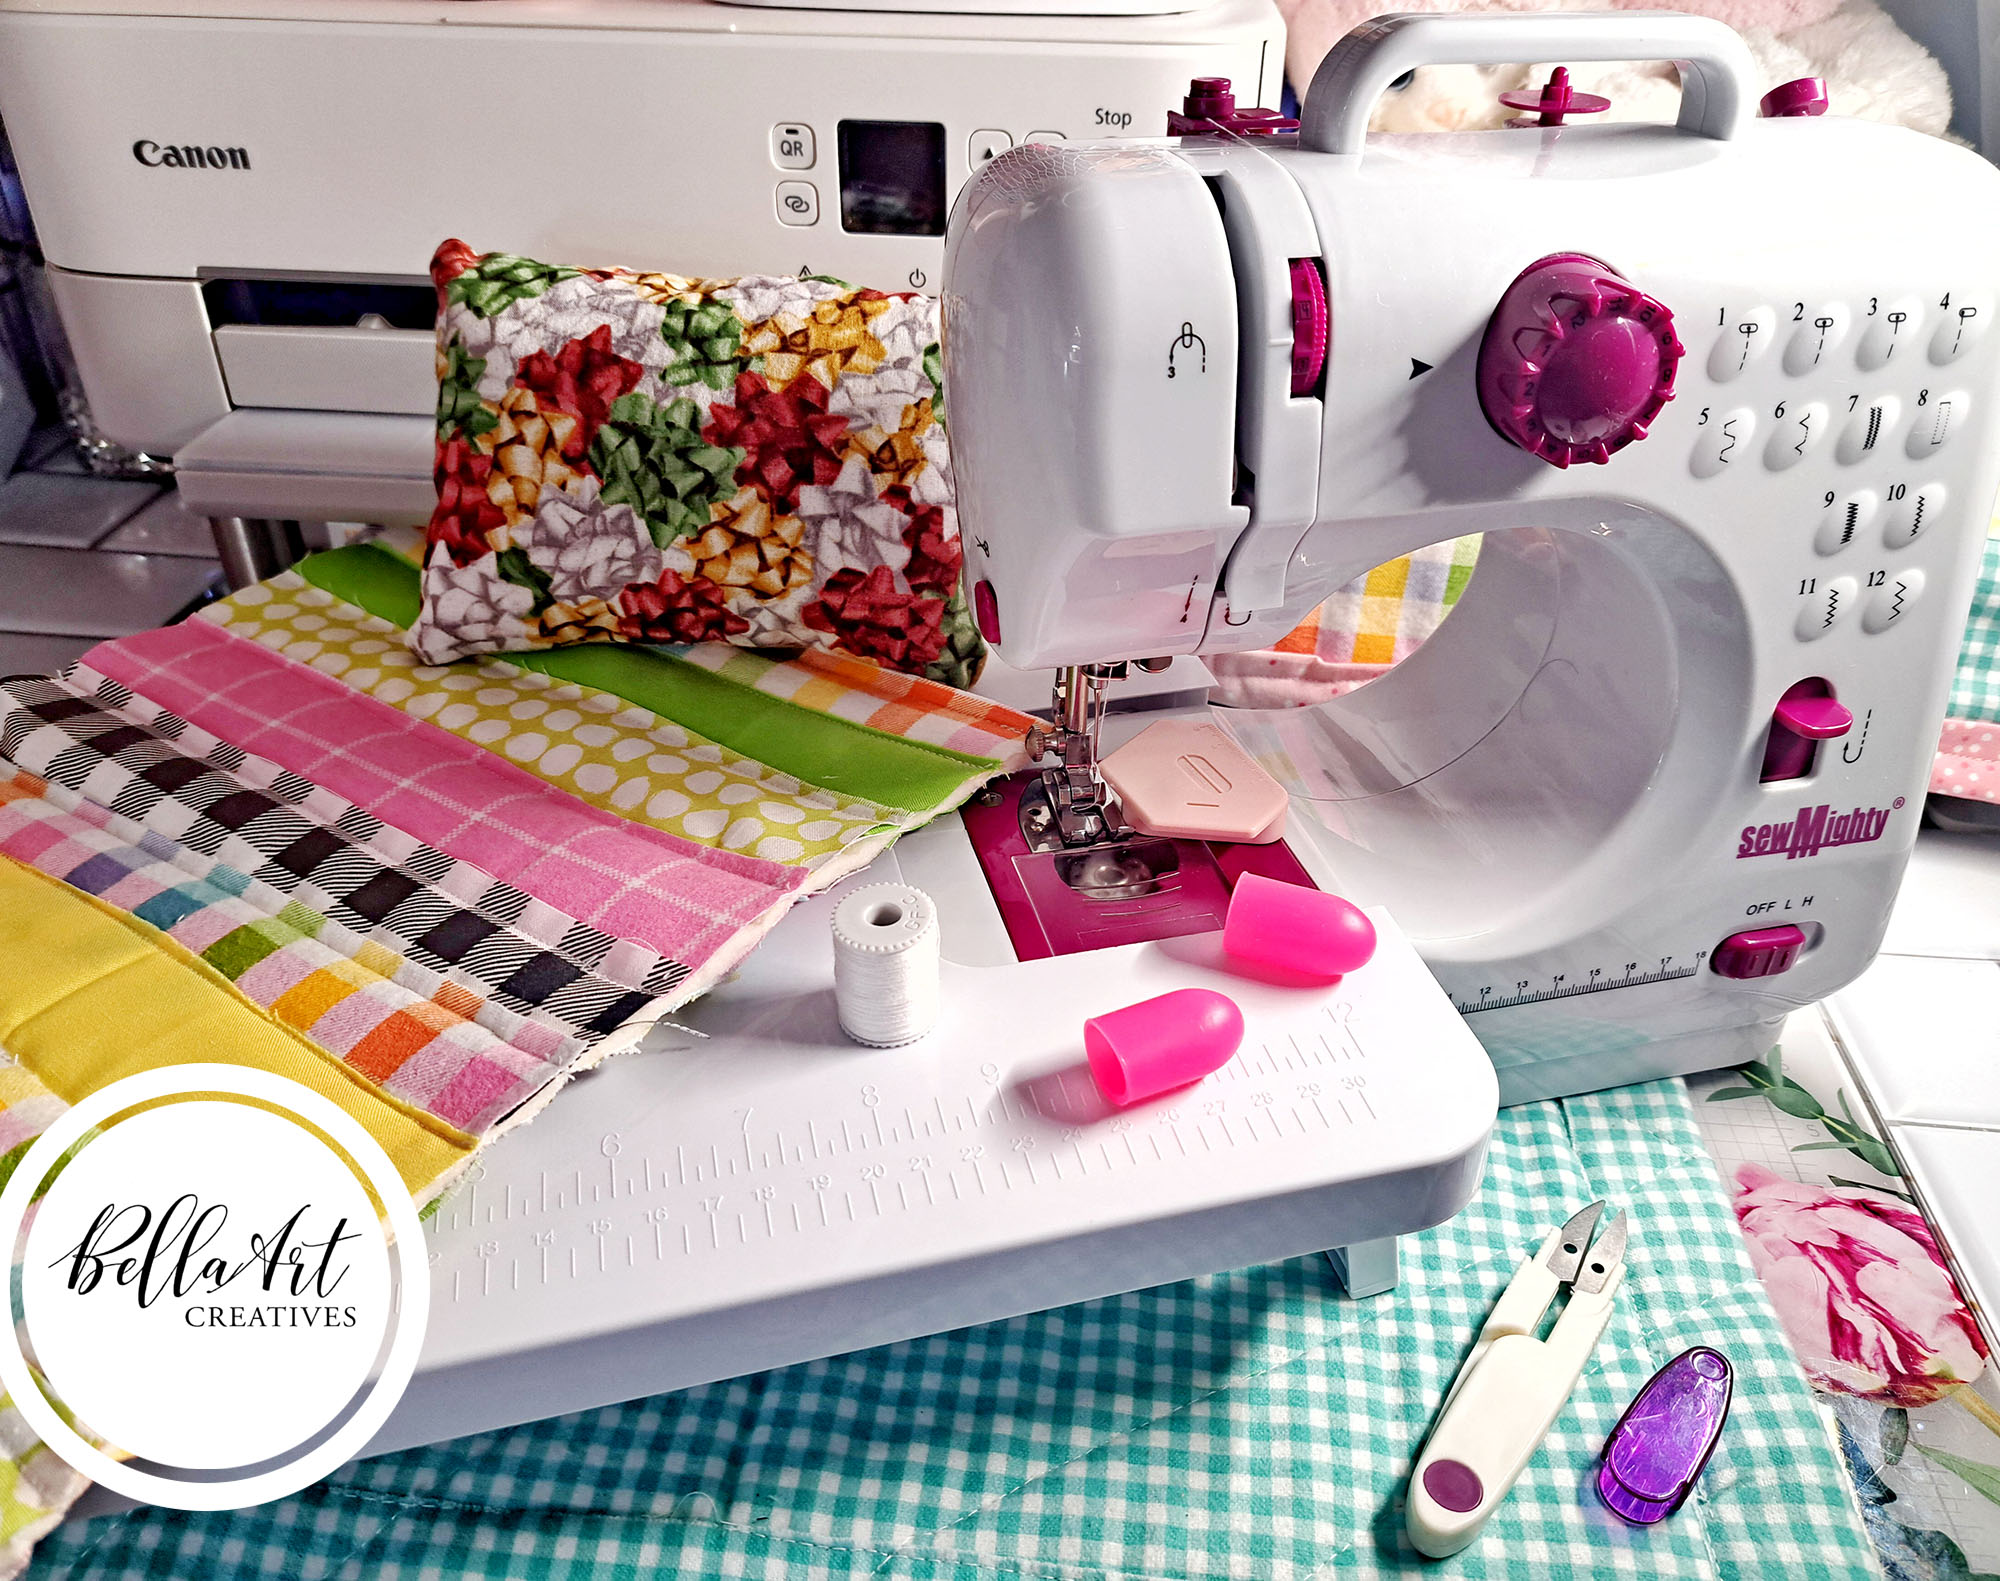
The SewMighty is a 2-speed machine that comes with 12 different stitches, button hole capability, back stitching, much better light, tension guage, presser foot removable feature and it has a little side pocket for holding small notions as I work. It is a learning curve, at least for me when it came to threading the needle and bobbin as well as winding a new bobbin. But, on AZ, the listing contains several videos showing you how to operate this machine. I think that’s great! I’ll talk more about this below!
On Amazon, you can choose which bundle you want, you can purchase just the machine with some extras (AC/DC adapter, foot pedal, 2 pre-wound ½” metal bobbins with black and white thread, 2 pre-wound 1” bobbins with black and white thread, buttonhole foot gauge, 2 replacement needles, needle threader, 60” pink tape measure and thread snips) but without the extended table or the additional sewing kit. If you buy just the machine instead of the kit and table, it’ll save you roughly $5 at the time of this writing.
I Ran into Problems, but SOLVED?
When my machine arrived and actually before, I watched several YT videos on how to operate it and in fact that’s the reason I told hubby I’d chosen this brand. So, when it came I quickly unboxed it and started playing with it. The trouble arose when we bought a new fleece at our local thrift store and realized later it had a hole behind the collar.
The fleece is a charcoal gray, almost black and I knew I’d wanted to match that color with my thread. The machine comes threaded with white thread. But, I figured I had watched the steps enough that I could un-thread my needle and bobbin and re-thread it. I followed the instructions in the video, but my thread would not stay in the needle and therefore the machine would not stitch.
Hours upon hours I kept trying and by this time I was literally in tears! I loved this machine and had already been using it so why in the world couldn’t I re-thread it?? I thought had a defective machine!
Anyway, I said a prayer and in that moment decided that I would return it. I logged into AZ and began the return process and its automated reply asked me the reason for the return. I typed that in, then it asked this, “How can we make this right?” I had never seen that question before when I returned stuff to AZ so I was shocked. A video tutorial popped up about how to thread the bobbin from the manufacturer.
Then, I remembered seeing a list of short video tutorials on their AZ page on how to thread the needle/bobbin, winding the bobbin, etc., so I clicked on the video to see if maybe I’d missed a step. After watching that video, I watched the other videos how thread the needle and I found out 3 things not mentioned in the YT video that needed to be done, at least on my machine:
- There’s a little piece that looks like a disc and it needed to be on top of the spool of thread while sewing and threading. I didn’t even know what this piece was for initially.
- The bobbin sits into its slot, but the thread tail was hanging off the front of the machine. I had mine towards the back.
- The needle must be threaded from front to back and that was explained in the YT video, but somehow I couldn’t get my thread to go in that way but after watching the SewMighty video I was able to re-thread it correctly. I also decided to change my tension from 3 to 4. Not sure if that made a difference.
After changing these three things, my machine sewed perfectly! Talk about relief! I did NOT want to return this machine, I love how it sits on my craft table in front of my Canon printer. I have plenty of room to sew. The extended table is large and I love it and love the size of the machine, it makes me feel like a seasoned sewist!
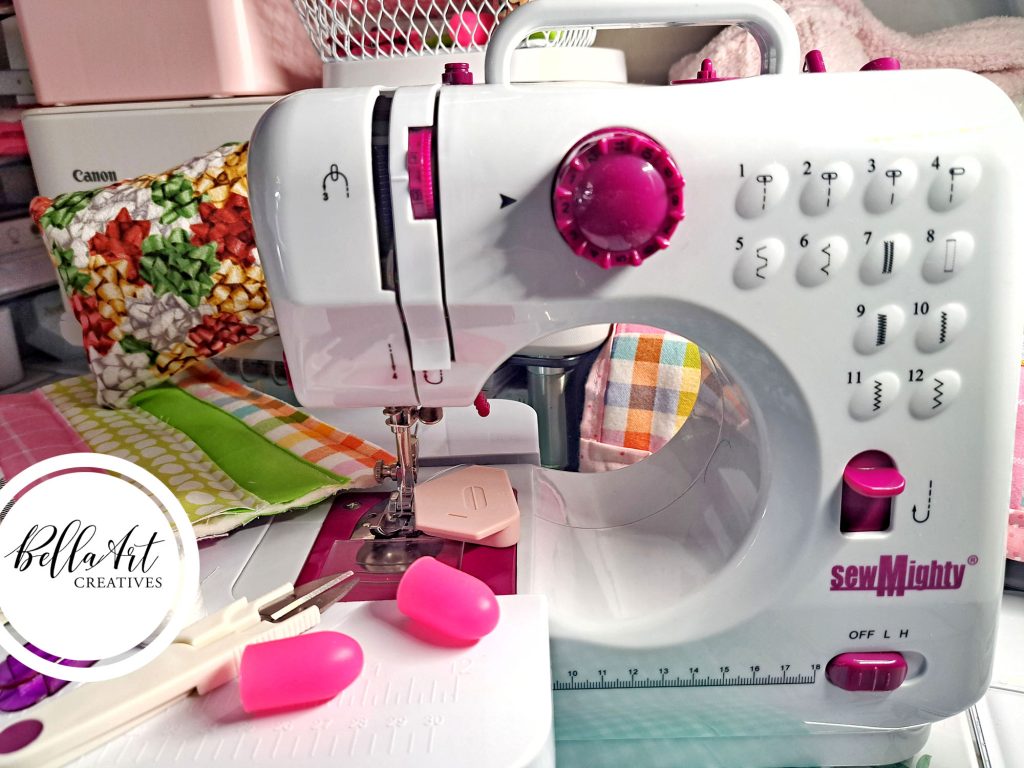
Bought a few extras as well like plastic thimbles for my fingers, I purchased seam guides (2 pack) to help me stitch straight and I just ordered a needle hook threader to see if that will better help me to thread the needle from front to back. Hopefully that will work!
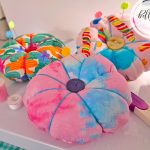
I just finished making another pin cushion as I’m practicing the ladder hand stitch. And you’ll see a mat that I sewed using strips of scrap fabric. I need to add a trimming all around and then I’ll reshoot the photo.
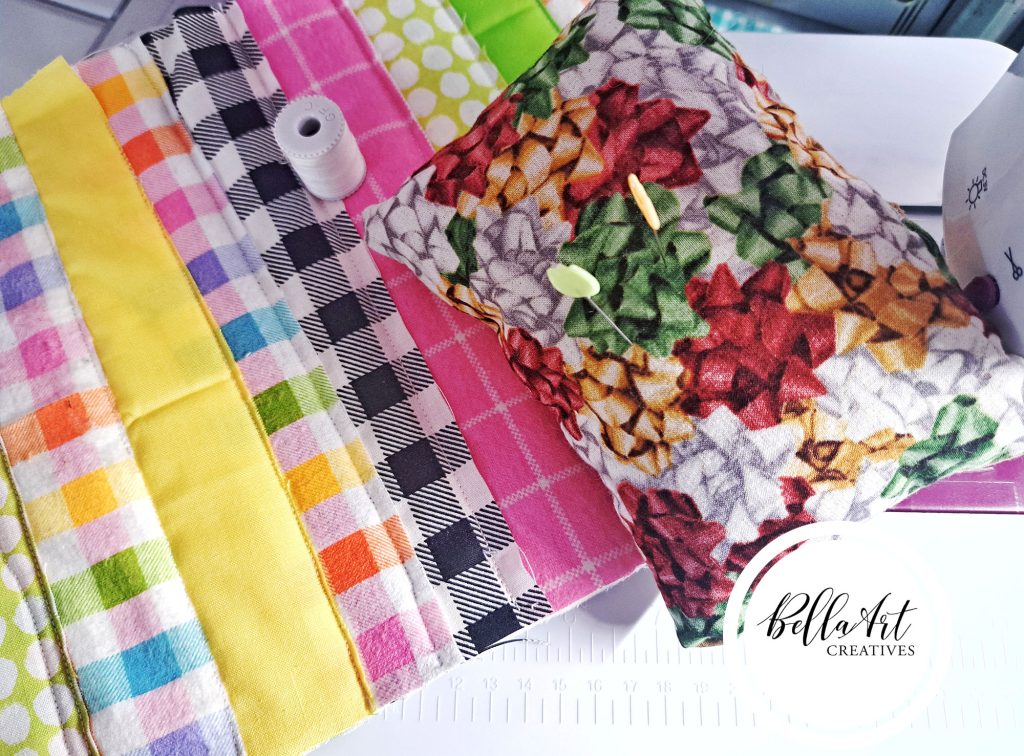
The seam guide is a huge help to me. I still have a lot of practice yet but let me tell ya, I’m having the best fun of my life! Had no idea how much I would enjoy learning to sew! Thanks for Reading, links are below!
*UPDATE! I genuinely don’t like to criticize any product or brand because I want my blog to be a source of happiness and encouragement. Nevertheless, I needed to share this update. I’ve removed the link to the Sew Mighty Sewing Machine because, after several weeks of using it, I encountered too many issues to keep it, so I returned the machine. I cannot in good conscience recommend it.
I had this machine for several weeks and while I worked out some of the kinks as mentioned above in this review, others I could not and it was evident to me that I could not get this machine to function normally. That is such a bummer because I really wanted to love this machine and use it for years to come. It just wasn’t possible. I think the concept of building and offering beginner, mini or portable sewing machines to customers who want to learn the craft or get back into it is plausible, but the execution simply comes up short.

Some of the links to the products I used are affiliate links which means that when you shop with them, I’ll receive a small commission at no extra cost to you. Your support helps me run my small crafty business. Thank you so much!