Hi my friends! I’m really excited to share today’s makes! Every month, my best friend and I sew something together (virtually) and this month’s theme was round pin cushions. This is something I need for my sewing table and I found this really easy video tutorial that we followed. I’ve embedded it below but you can also watch it here on YT.
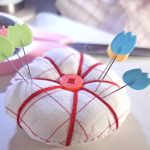
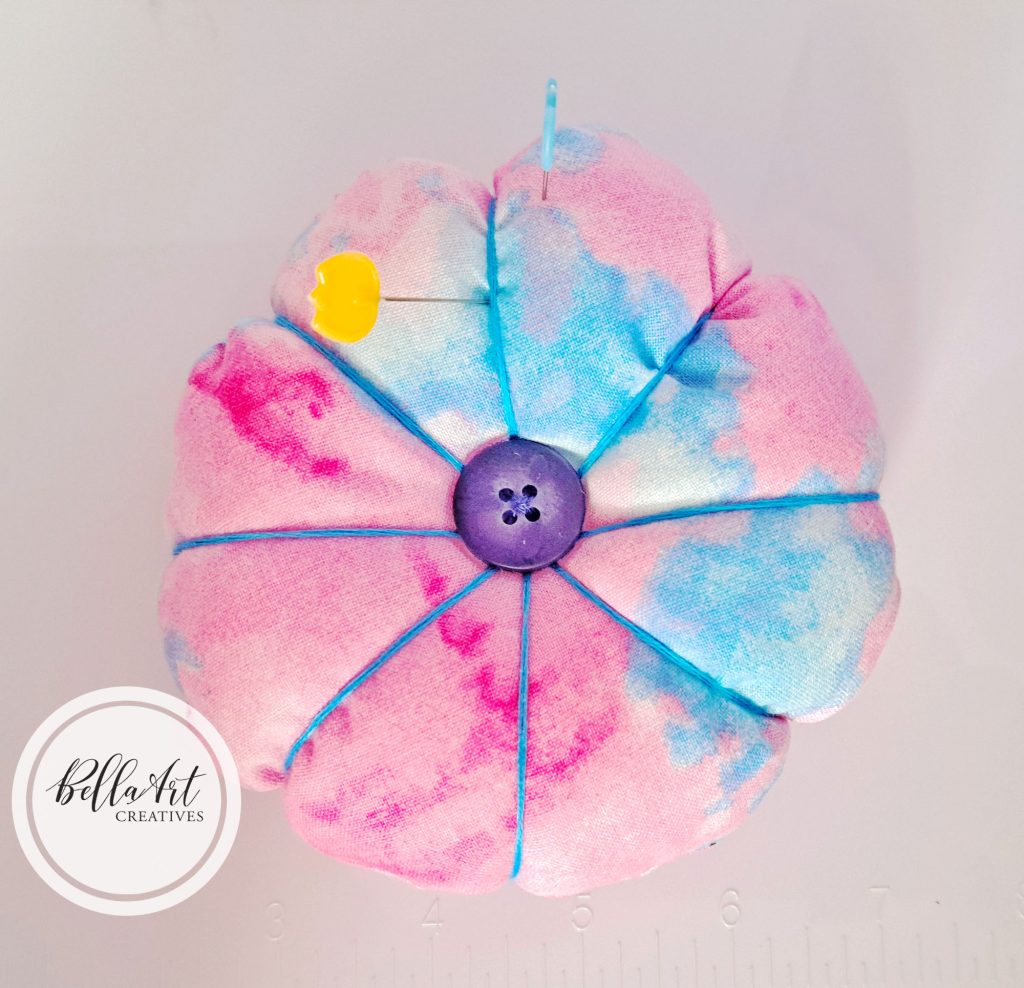
I love how these pin cushions look with the embroidery floss around it and the button in the center. I had try it!
My 1st Attempt – Not Successful
In my first attempt, I made it too small and wasn’t happy with my fabric choice. So, I decided to use it in my travel bag and try again. You can read about in my post here. It was my 2nd pin cushion make but 1st round one! LOL
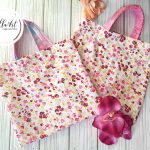
My 2nd attempt was much more successful and then I decided to cut enough fabric to make a total of 3 pin cushions. One I’ll keep and the other 2 will be gifts. All my fabric came from my local Dollar Tree and the buttons were in my stash. I used DMC embroidery floss (3 strands) to go across the pin cushions.
2nd Attempt – Better

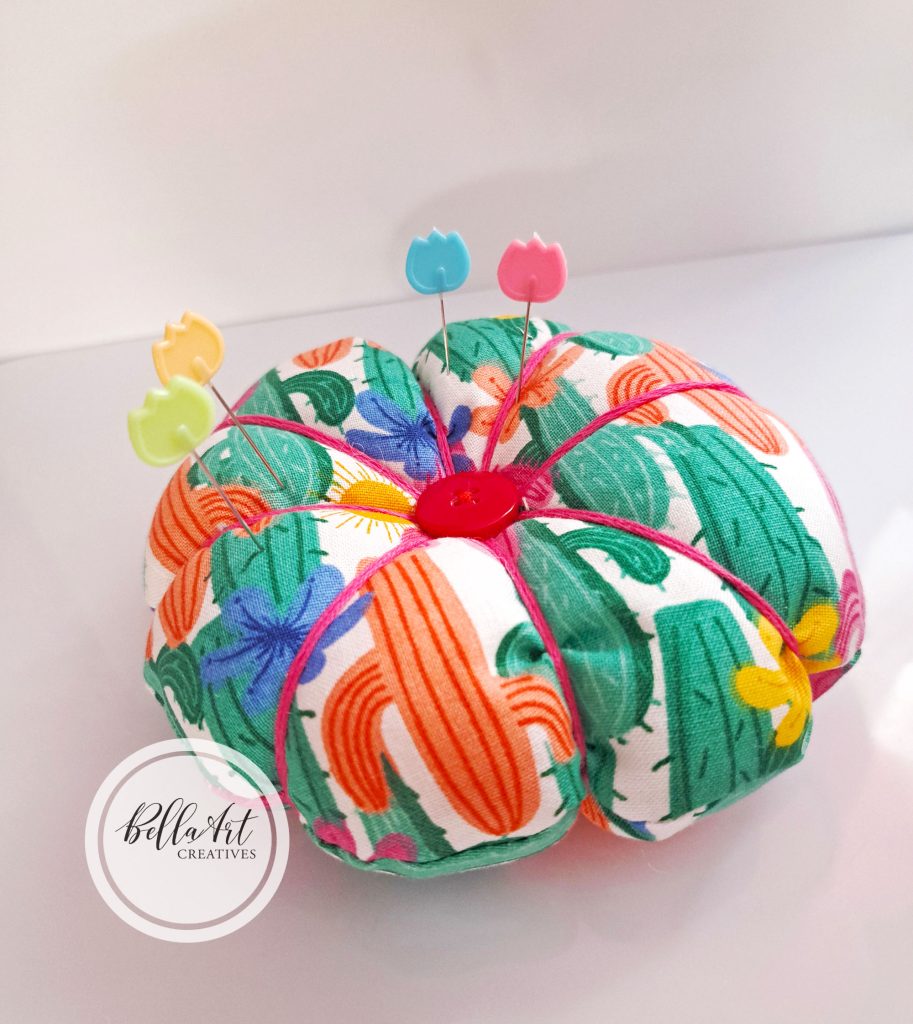
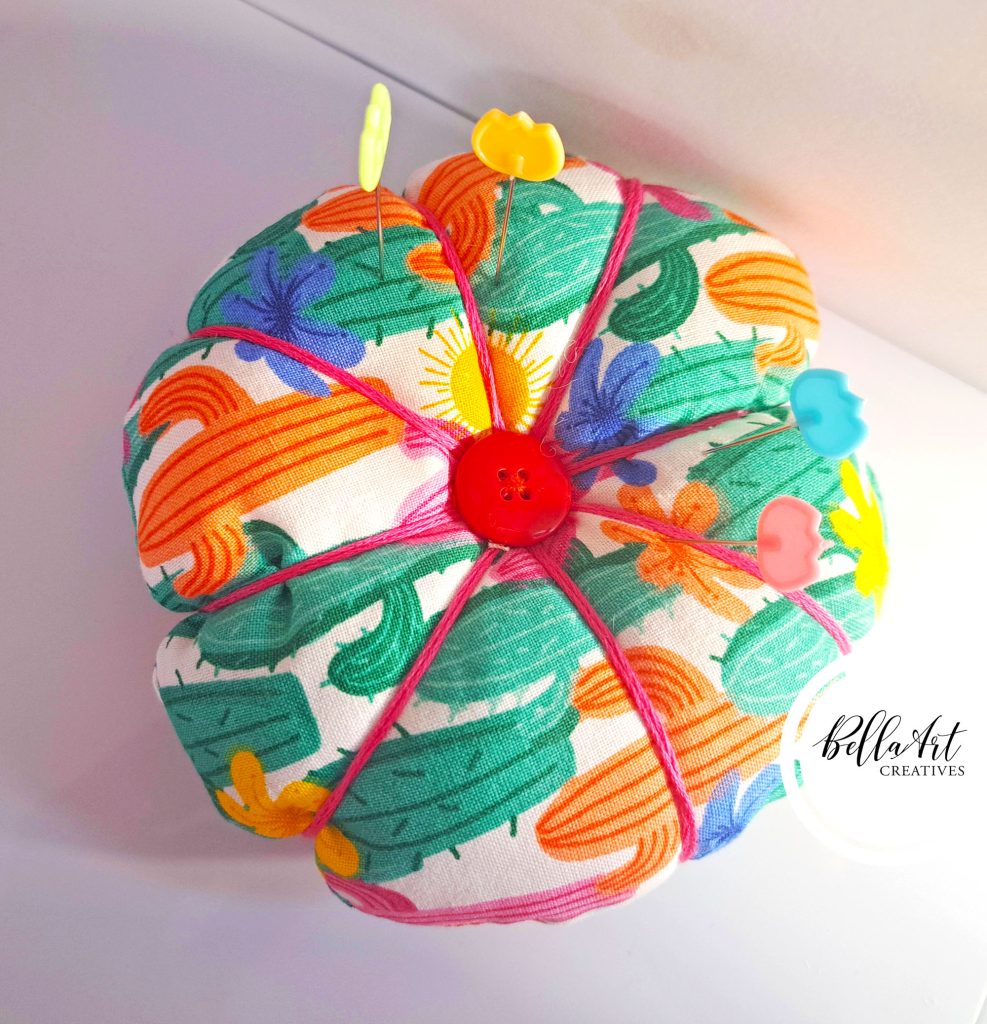
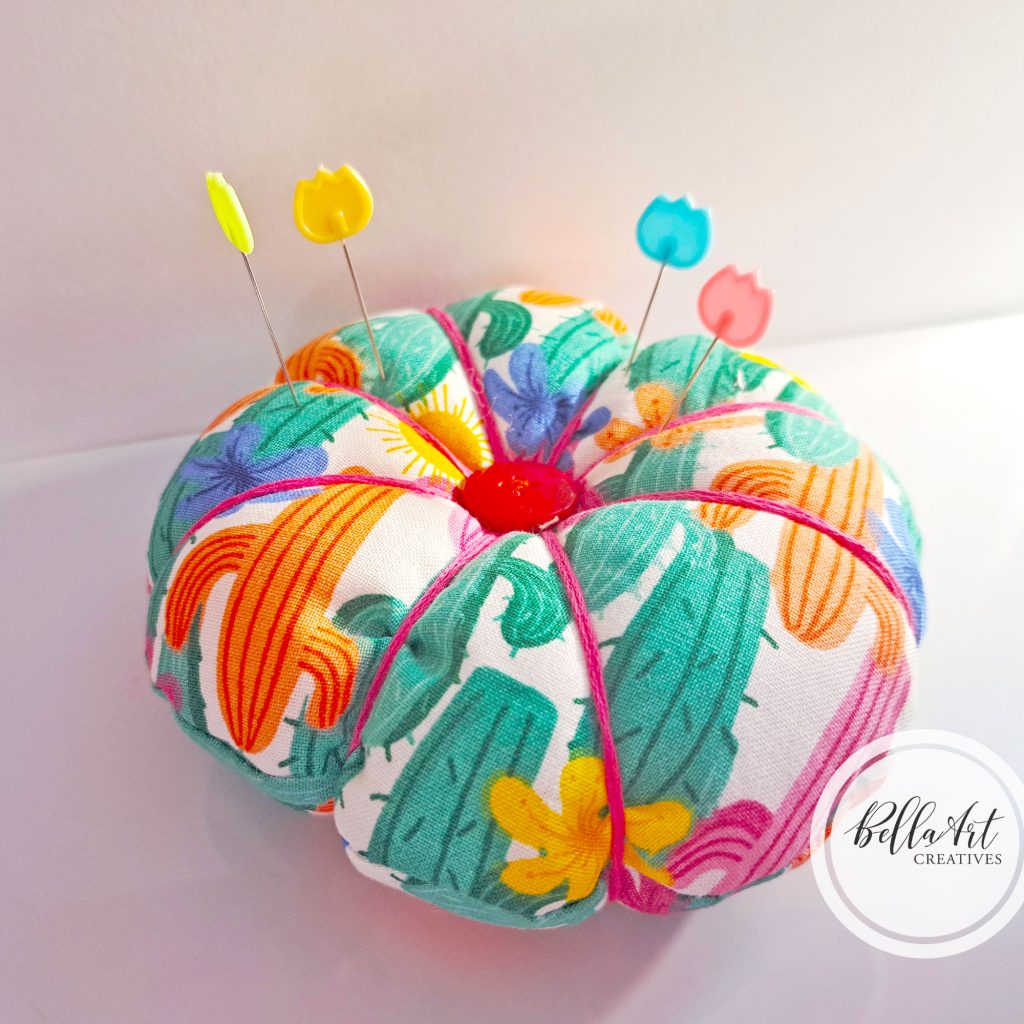
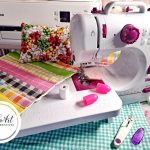
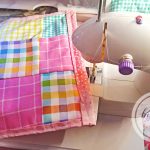
This was my 2nd attempt, I really love the cactus/desert pattern of this fabric. It was 100% cotton and my Sew Mighty machine performed excellently! I was so pleased! I did better with my hand stitching too.
I shortened the opening on the top of the fabric right before stuffing it so I wouldn’t have too much hand sewing to do. I used the ladder (invisible stitch) to close it.
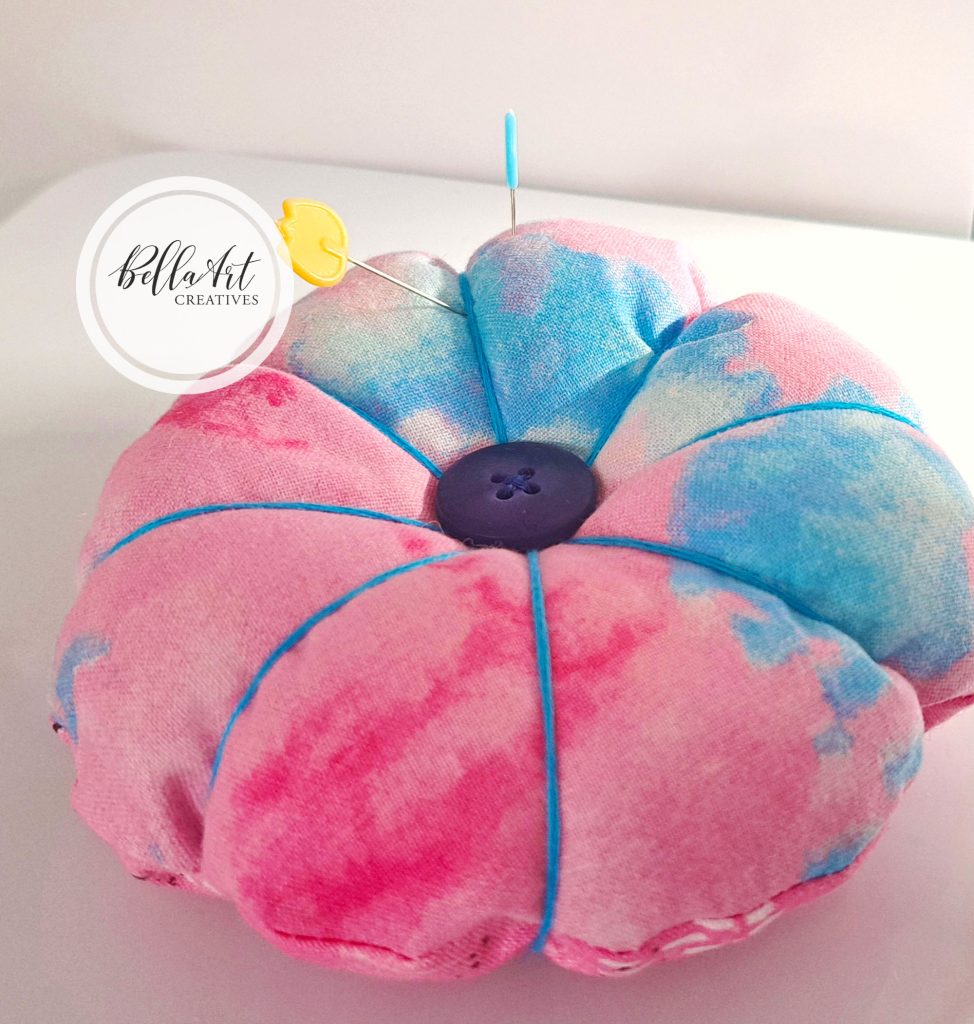
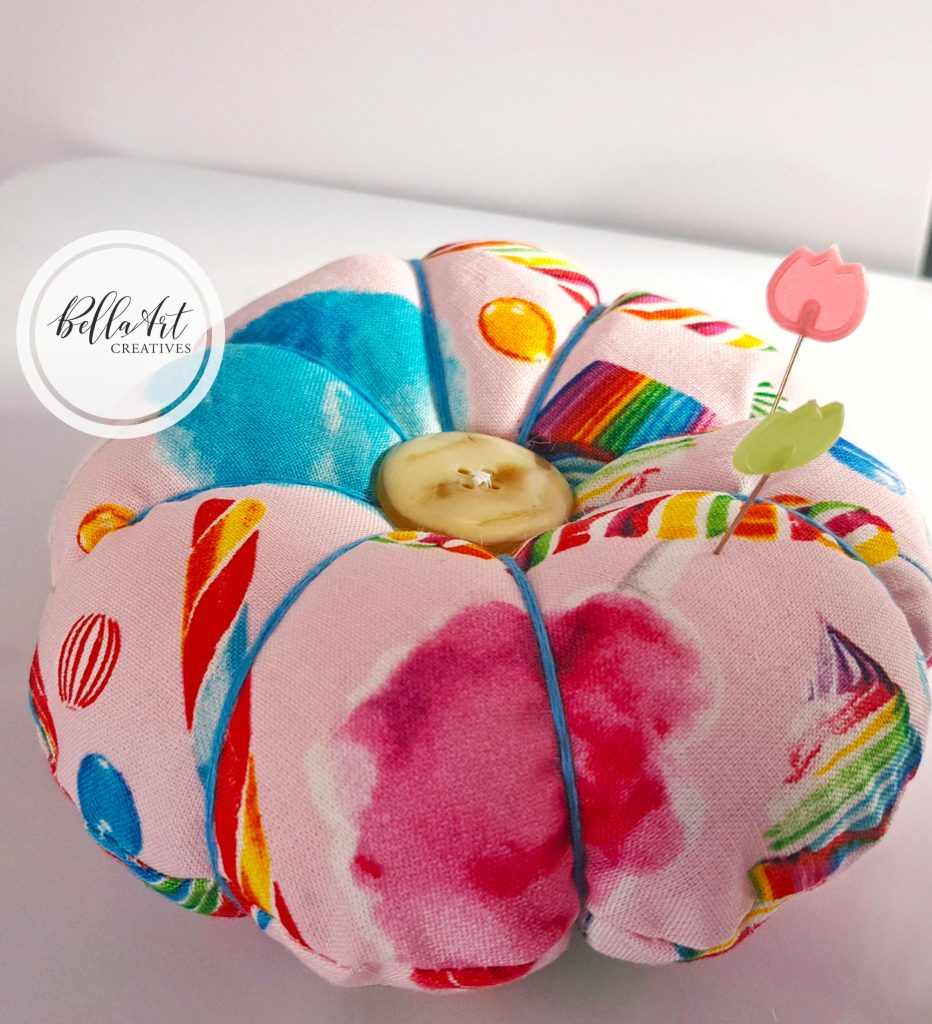
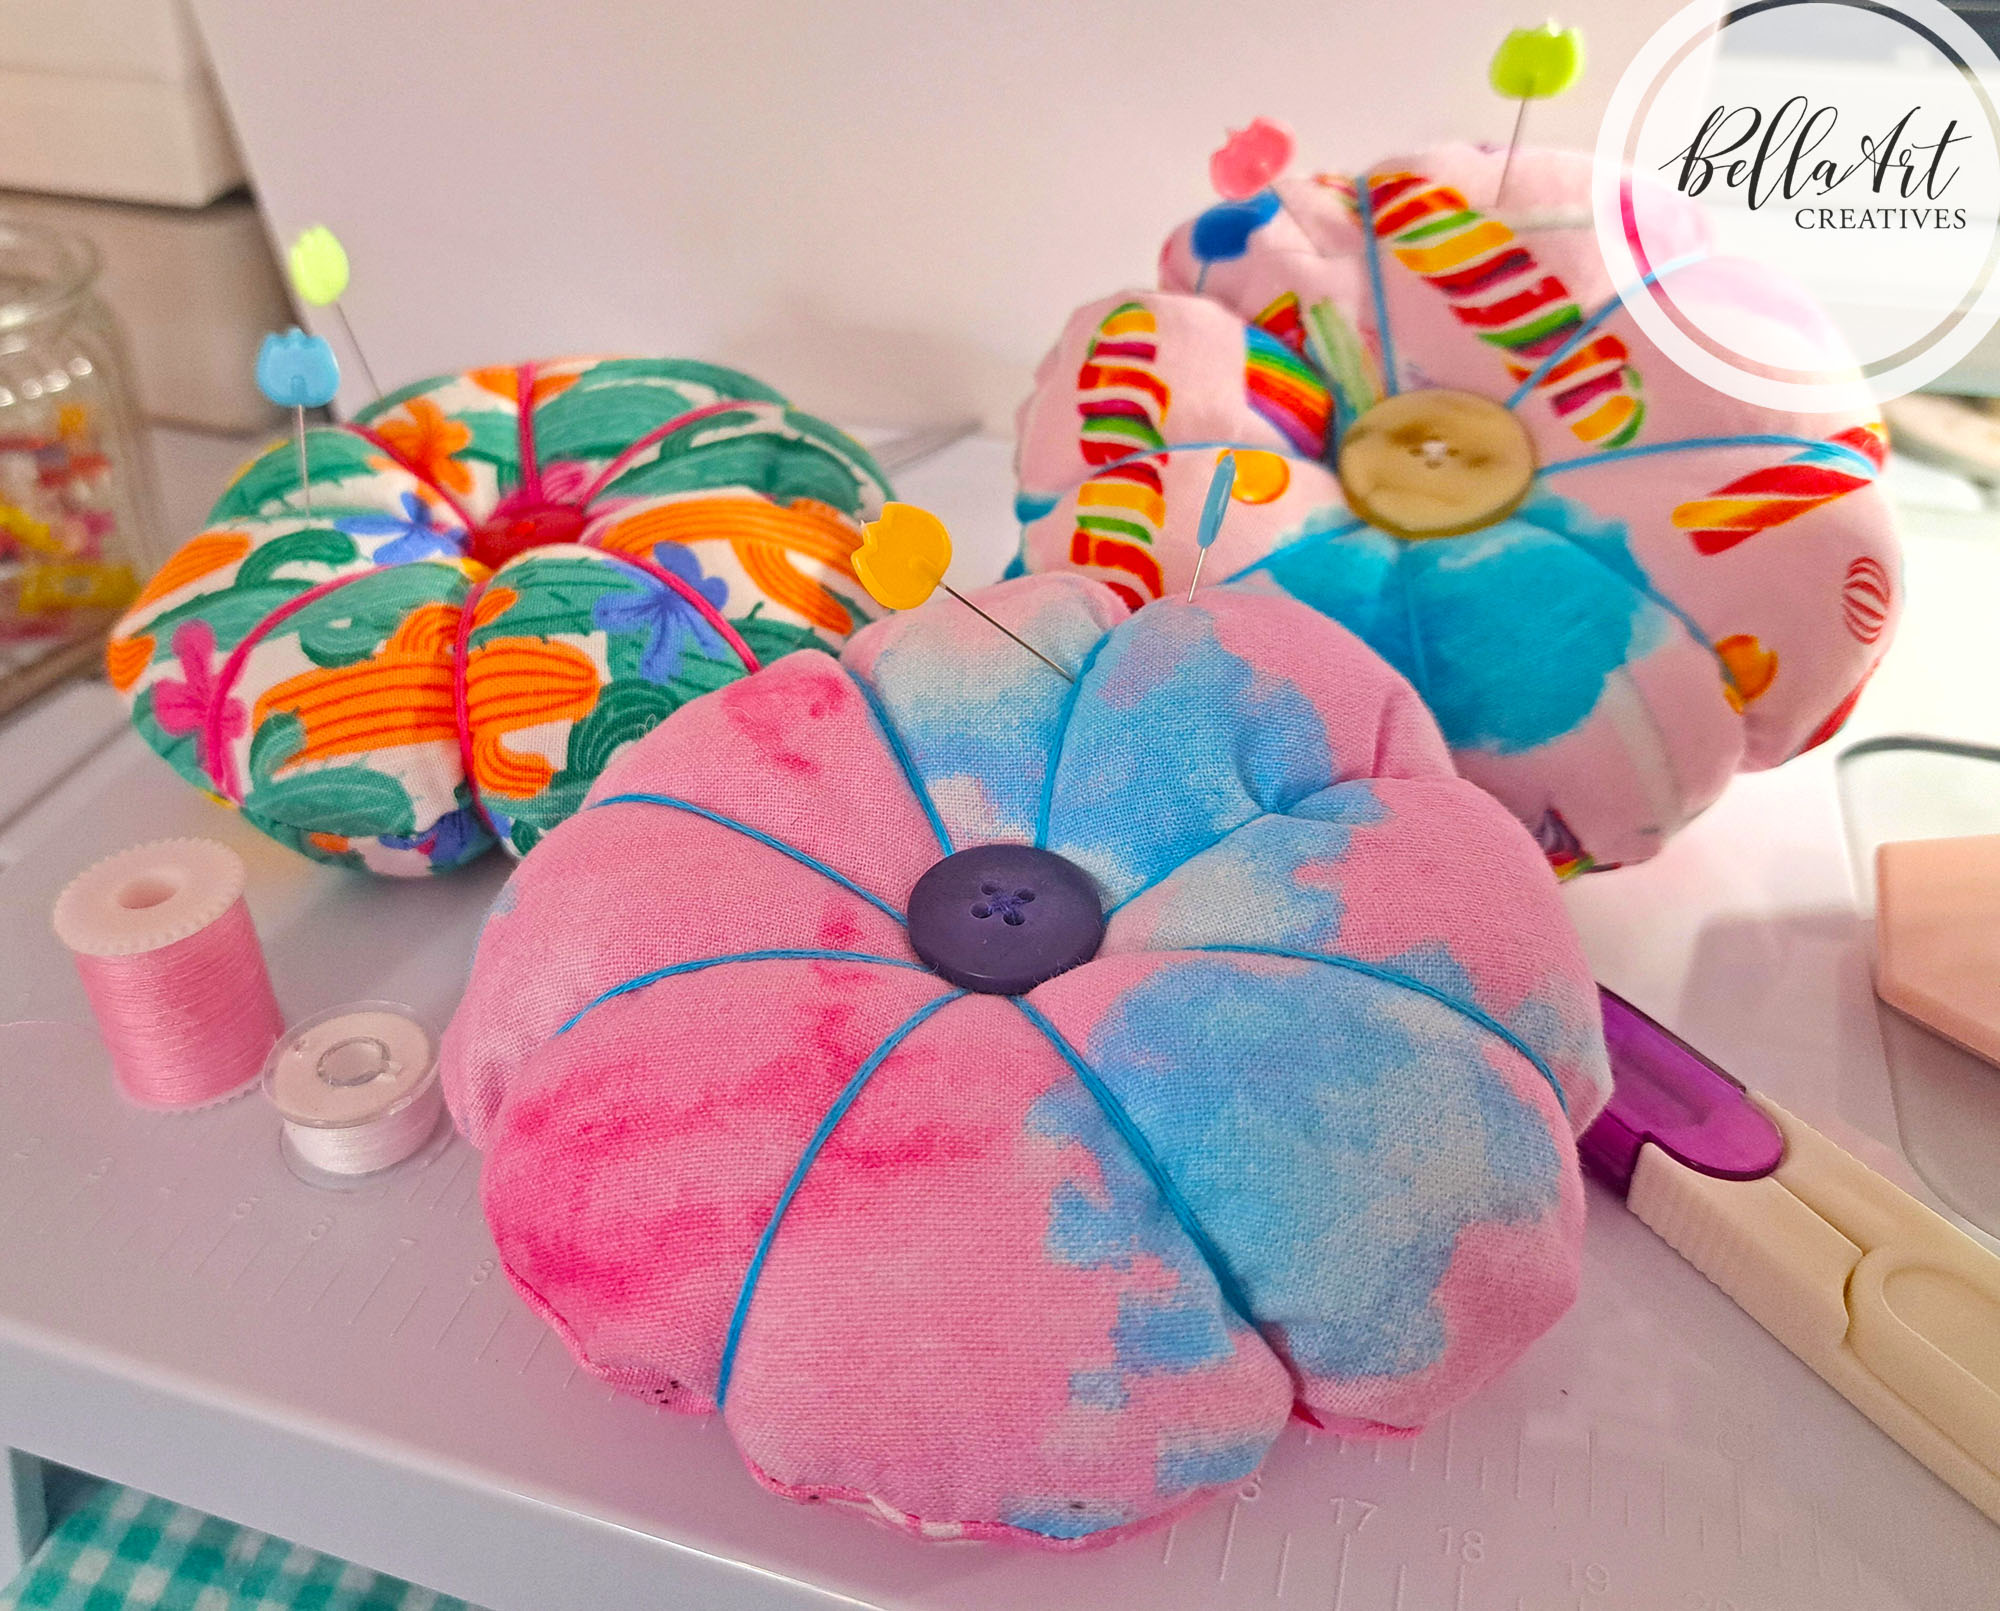
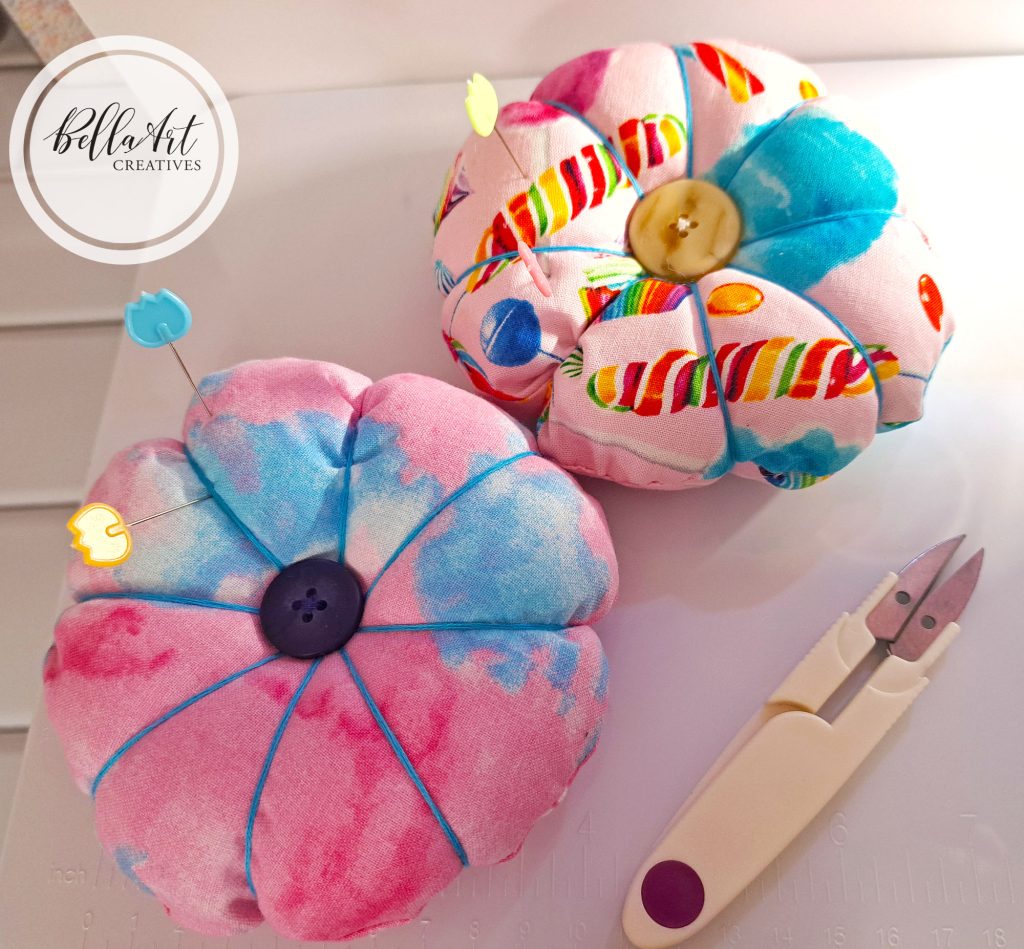
Success!
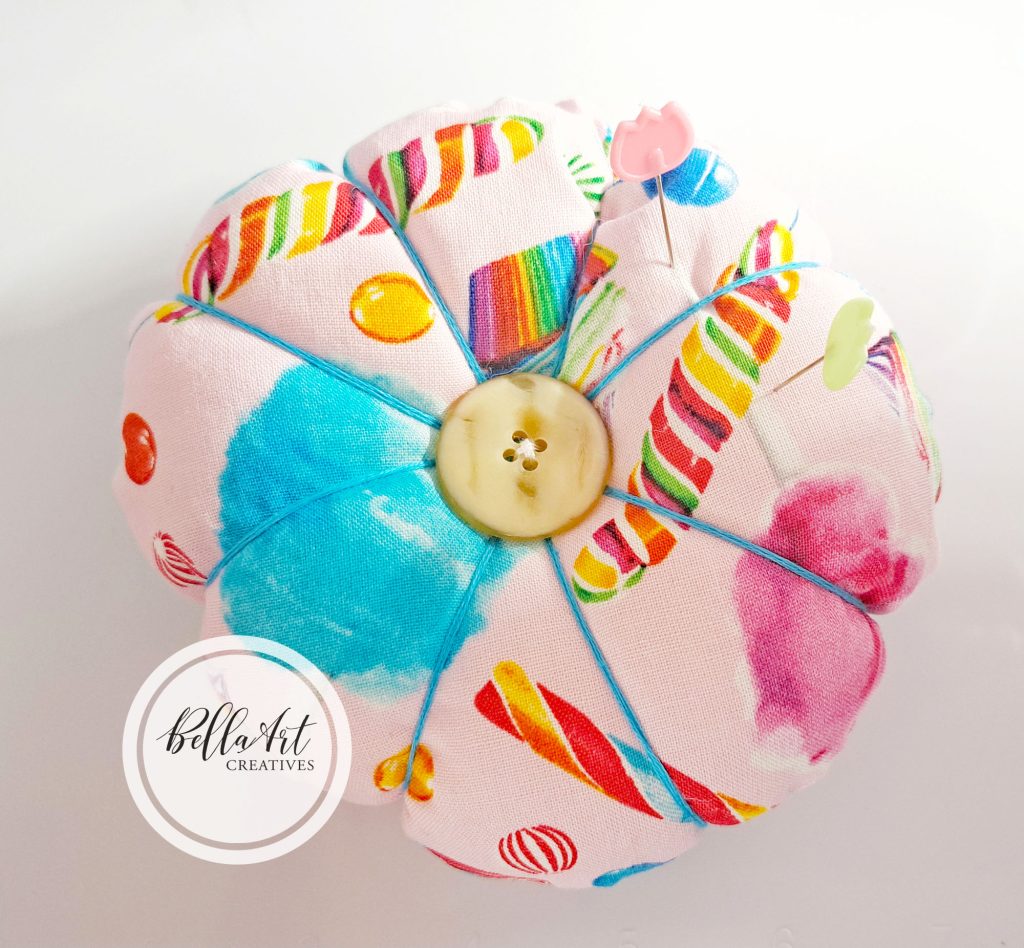
These are the last two I made and as I got to the last one, I had learned a lot and whizzed through making it! By this time, I was having so much fun that I could’ve made many more! I’ll share some things I learned below.
Things I learned making this pattern:
- It can be made in whatever size needed. I made mine a bit larger than in the video.
- I sewed an 1/2″ seam allowance around the fabric (larger than the video because my pin cushion size would be larger) and left about 1/4″ opening at the top.
- Hand stitch with matching thread to the fabric. When using white thread, even with the ladder stitch, I could still see my stitches but when I chose a matching color thread, it was less noticeable and blended much better.
- I don’t have many buttons…yet! So, I couldn’t sew a button on the top and bottom of the pin cushion but only because I’m rebuilding my collection. Also, it was best for me to sew the button with regular hand sewing thread and needle and not use embroidery thread or needle. This helped me sew through the button holes much easier.
- I sewed my buttons from the top into the bottom of the pin cushion not under the button. This is essential especially if I were to add 2 buttons but even still, it was easier on my hand to sew through the button hole to the back of the pin cushion rather than pull the thread from underneath the button hole.
- You need a lot of embroidery thread to go around the pin cushion. The video didn’t specify how much was needed and in my 2nd attempt I didn’t cut enough and had to start over.
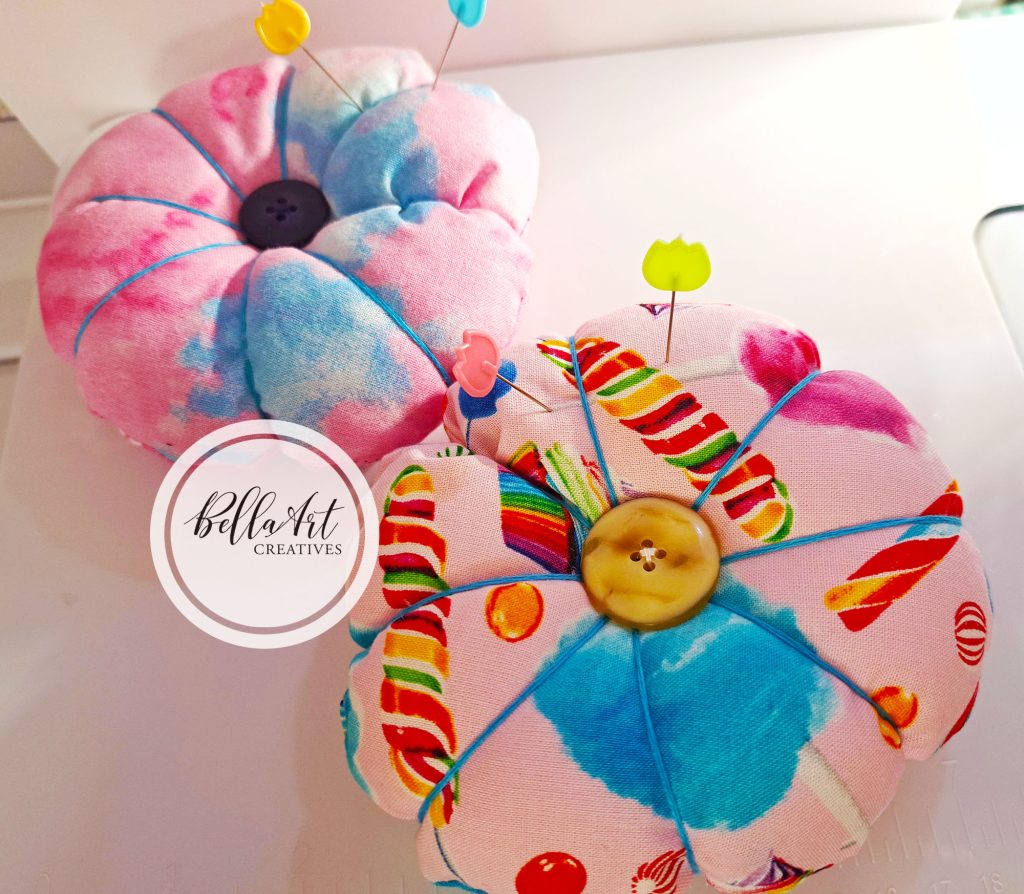
Overall, I LOVE how these turned out and I would love to make more as gifts. I have links to the supplies I used below. Thanks for Reading!

Some of the links to the products I used are affiliate links which means that when you shop with them, I’ll receive a small commission at no extra cost to you. Your support helps me run my small crafty business. Thank you so much!