Hi friends! This is a bittersweet type of post today. If you’ve been on the blog recently, you probably saw the notice about my no longer recommending nor using the Sew Mighty Multifunction sewing machine, if you haven’t seen the notice, here it is below.
*UPDATE! I genuinely don’t like to criticize any product or brand because I want my blog to be a source of happiness and encouragement. Nevertheless, I needed to share this update. I’ve removed the link to the Sew Mighty Sewing Machine because, after several weeks of using it, I encountered too many issues to keep it, so I returned the machine. I cannot in good conscience recommend it.
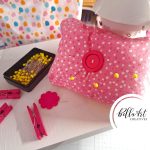
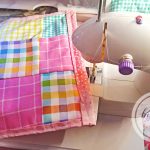
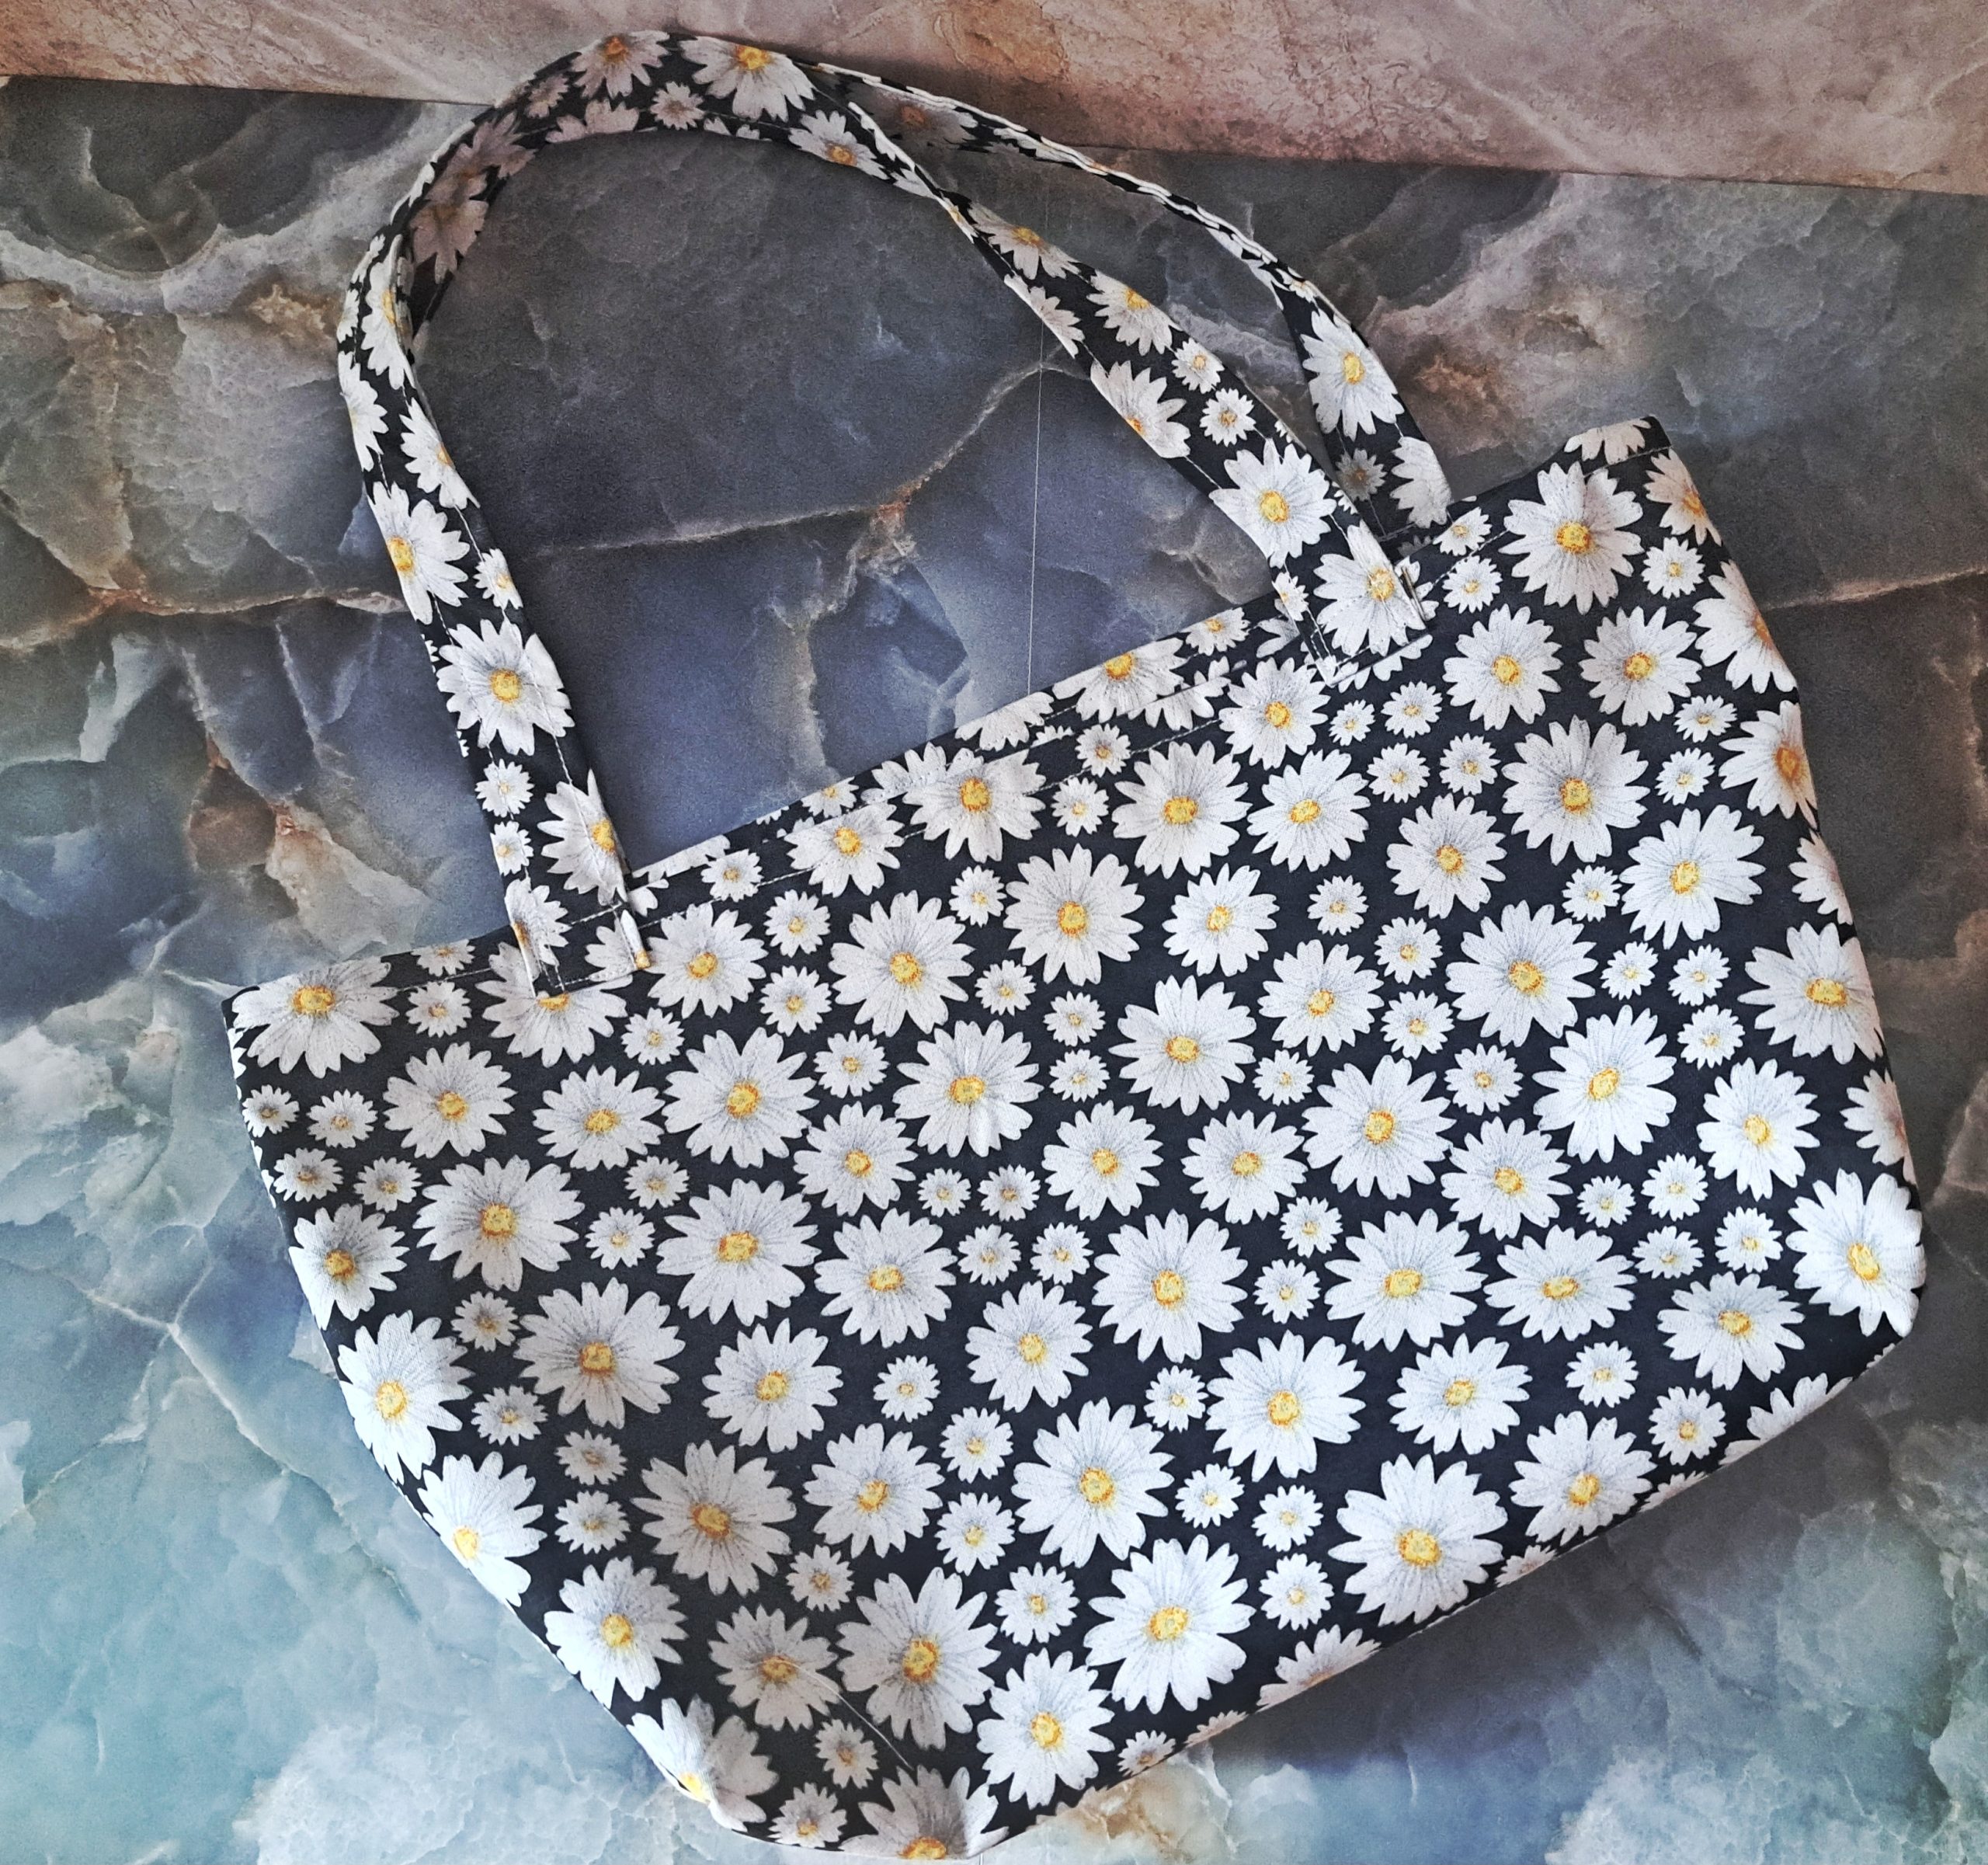
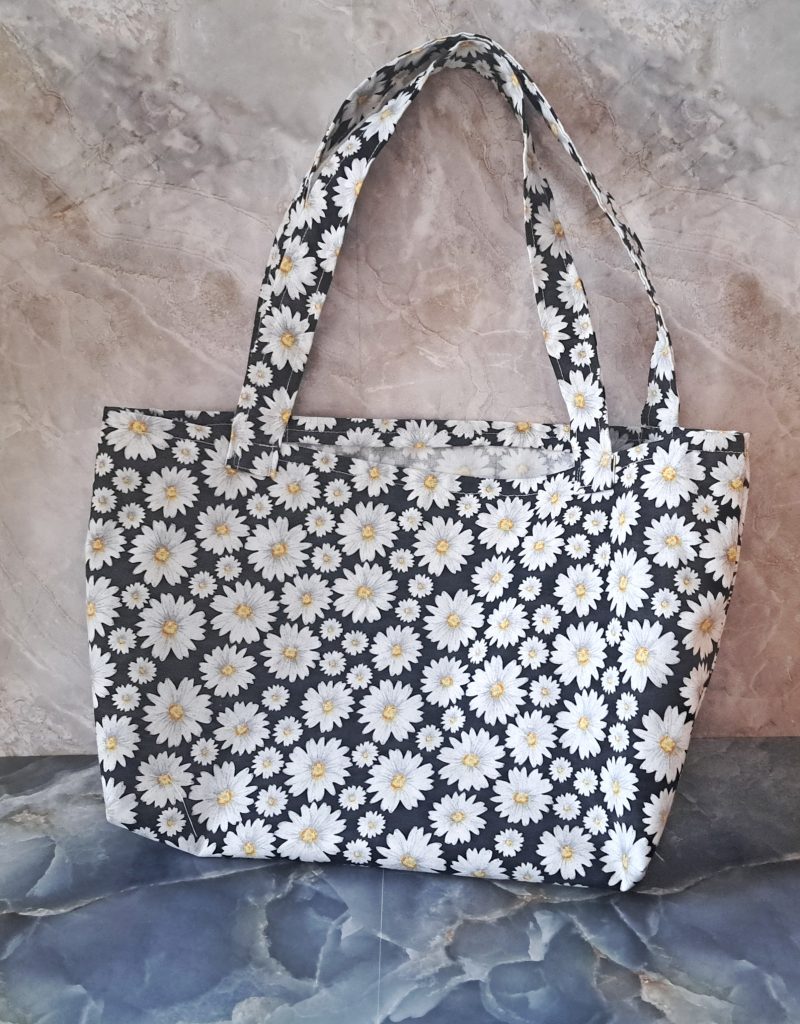
I hadn’t gone into great detail about what happened, but the short story is the machine just wouldn’t sew without constant problems. One was the needle thread kept breaking during sewing and re-threading. This and other issues made it so that I had to return it. That said, however, I was able to finish one last project on it which is this pretty tote bag.
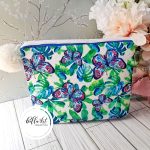
You can click here to see the zipper pouch I made, so, let me tell you about this bag!
I saw a tutorial on YT and followed the instructions with 2 alterations which I’ll go into more detail below. It is a pretty easy pattern for a beginner. I’ve got the video below if you want to play it or you can watch it on YT here.
Differences, Alterations
- To begin, I decided to double my fabric to make the bag a little more substantial. It wasn’t a lining per se, but the bag is a bit more stronger than just sewing it with one sheet of fabric. My fat quarter sheets were from Crafter’s Square purchased at my local Dollar Tree.
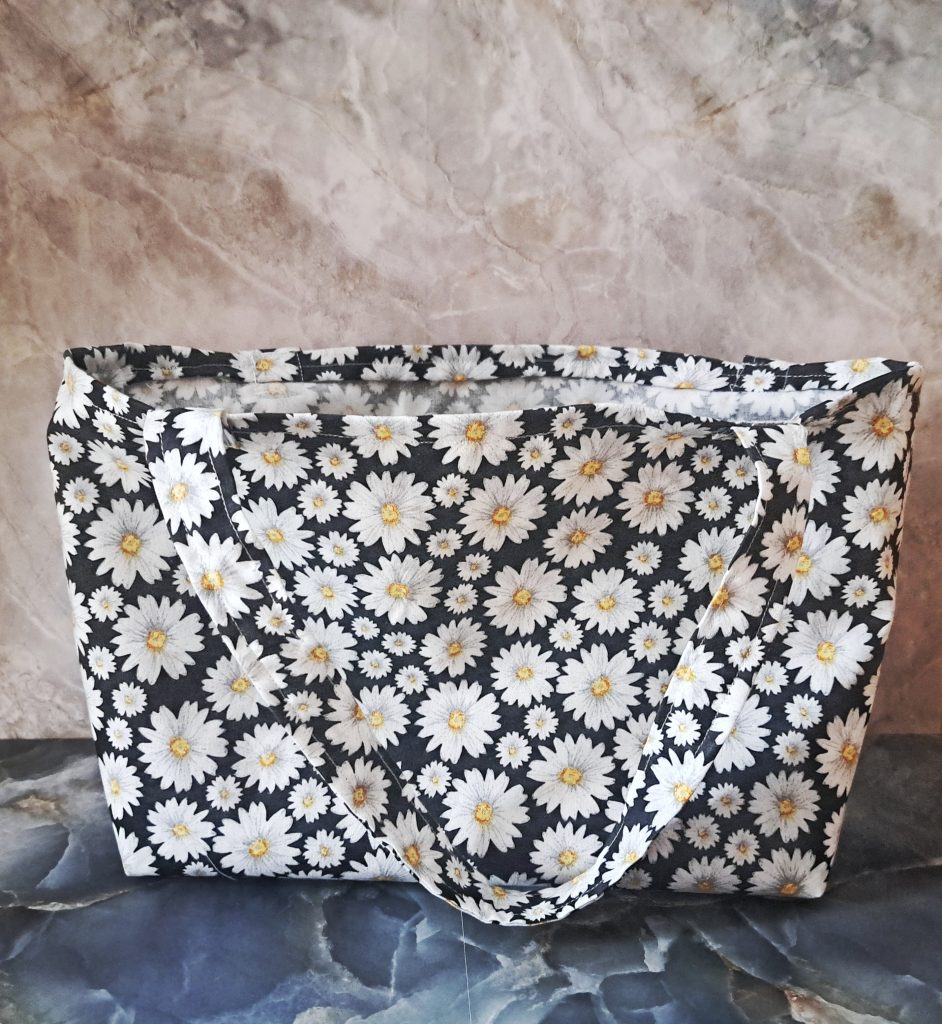
- I was able to sew the body of the bag just fine on the machine as well as sewing the straps and setting aside. However, the troubles began when I was attaching the straps to the bag. Took forever but I finally got it done but afterwards, I packed up the sewing machine to return it.
- Lastly, about a couple of days later, I learned how to box my bag at the bottom but used my new Brother sewing machine for that.
- After everything I went through I just didn’t have the motivation to make the pocket so I left that off.
Pay Attention to Details
One thing I thought I did right was not twisting my straps, but I missed it on one of them. However, It doesn’t break the bag and I was not going rip out the stitches! 😀 Paying attention to details in the prep stage is something that’s become really important to me as a new sewist. I also had tight stitches on this bag because the machine doesn’t have the option to adjust that.
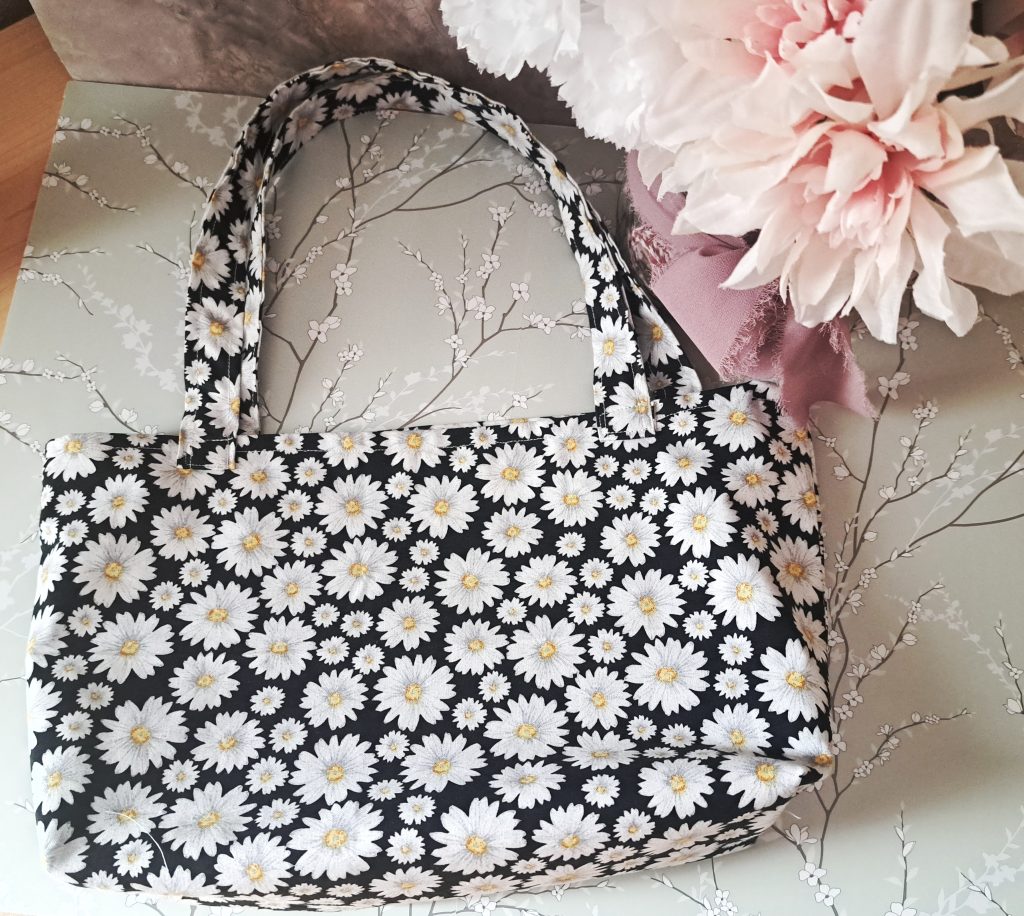
I forgot to measure the bag, but I approximate it at little less than 18″ x 21″ which is the size of the roll when I purchased it. I really love how it turned out and I’m happy it’s done! Thanks for Reading!

Some of the links to the products I used are affiliate links which means that when you shop with them, I’ll receive a small commission at no extra cost to you. Your support helps me run my small crafty business. Thank you so much!