Introduction
Hi friends! This post is part of a two-part series I wrote some time ago and I’ve revised it and wanted to share it with you. I write this primarily for creatives, artists, designers, whatever your craft is. We often have some really great ideas for future projects, patterns, designs, but we don’t always write them down, which causes us to forget about them and ultimately never see them through to fruition.
So, I’d like to share some tips that have worked for me. Let me start with asking you, what happens to the ideas you that come to your mind, do you write them down? If you do, how many of them come to life? As Creatives, ideas pop in our heads all the time. My head could probably come right off my neck with all the ideas I get!
In this part 1 post, I’m sharing how I determine if an idea I have is doable and how I write it down and map it out. In part 2 post, I’ll share tips on taking those ideas off the paper.
Using a Journal
First off, if you don’t already keep a journal for writing down your ideas, I recommend you get one. It doesn’t have to be anything fancy, a simple writing tablet will do and if you’re involved with several projects, you may want to buy a tablet with dividers so you can put your ideas into separate categories. And, it doesn’t need to be expensive either, you can probably pick something at your local Dollar Tree.
My mind works so fast that ideas pop in and out, but I write down an idea on paper only when I believe it will serve a function, solve a problem, or enhance my life in some way.
Not every idea is doable. For example, taking a cruise with no money saved. Obviously, nothing is wrong with wanting to take a cruise, but it requires action and if I don’t have the money, that’s not an idea that’s immediately doable. However, If I save up my money over a period of time so I can take a cruise, then the idea becomes a reachable target.

So, when you have idea of a new project or design, take some time to really think about it. When you decide to pursue it, write down the idea and include things or steps you’ll need to complete it.
You might need to learn a new skill or get specific materials, so, include that in your journal. Maybe you need more money to invest to build your inventory, or you may need more space, maybe rent a warehouse, or perhaps you’ll need to reorganize your craft room or another room in your home to allocate for additional space. Jot all these things down in your journal.
After you’ve outlined all this, then take another look and read everything you’ve written and again determine if your idea is feasible. It might be and you can proceed, but what if the timing isn’t right? No worries, write it down anyway! I’ve had ideas that I couldn’t act on right away, nevertheless they were still great ideas and I kept them in my journal until I could proceed with them.
I think it’s important to note that an idea can be pursued immediately or at a later date and nothing’s wrong with an idea that you can’t start on right away. So, don’t throw it out, just work towards it.
What types of ideas do I write down?
Typically, my ideas are centered around: (a) blog content; (b) crafty projects (ex., crochet or felt stitching pattern); and (c) home decor. So, let me use the blog as my example. I will write down potential topics, so I’ll list possible titles and dates with a little verbiage about my subject or purpose. Also, I jot down a date that I plan to publish each post.
On paper, my ideas form an outline like this:
- Purpose. Always important to start here. What is the reason I want to pursue my idea or what is the purpose of this article I want to write? Is this idea going to solve a problem for me? Is my knowledge and experience on a topic going to help my reader in some way?
- Essentials. How soon do I need to get this post written? Will I need to do additional research? How much time will be involved in putting it all together? Will there be a cost, (i.e., getting pictures, image editing, etc.)? Is this a solo post or will I need to collaborate with others for information?
- Management. If I’m writing a series of posts, what timeline do I want each post to publish? Are there other tasks under this series I need to do?, (ex., promote a product, research links to products, etc.)
- Completion. Once the post has published, what kind of advertising do I need to do?, (ex., social media sharing, newsletter, etc.)
This might look like a lot to write down especially for one idea, but believe me this kind of outline is so helpful to me and it helps my blogging go more smoothly. I follow the same format for my other crafty projects.
No matter what type of crafter you are, starting with an outline for your idea will help you develoop from text on paper to a finished project. If you are a Youtube content creator, having an outline on paper of what you will film will make that part of your job go much easier and natural.
A planner would also help take your ideas to paper, I use my Happy Planner. I purchased some tab divider inserts to go inside that I labeled for specific categories. I have my calendar but also I have blank note sheets for jotting my ideas down and we’ll talk more about the planning stages in my Part 2 post coming soon.
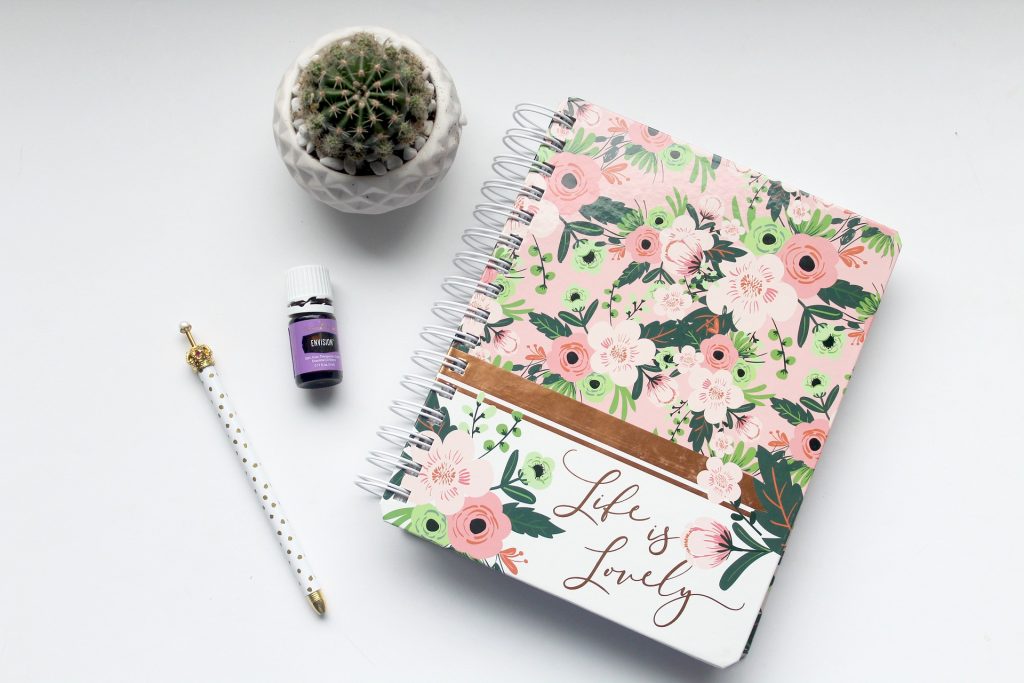
I hope this Part 1 helps you in some way with taking charge of your crafty ideas and that if you haven’t been writing them down that this post will help get you started. I think an idea looks and feels more real when you write it down and plan it out than just thinking about it in your head.
Getting those ideas from your thoughts to paper will help you embark on a new creation and once done definitely will pump up your skills and make you feel proud of yourself as a creator!
So, please feel free to share your take by commenting and thanks for Reading!
