Hi my friends! Please be kind and don’t laugh at my bungling this latest sewing project. I made a sewing machine mat and she’s a hot mess! I’ll talk to you about the purpose for this and where my inspiration for the pattern came from.
The Problem
So, I’ll start by saying that all my fabric came from Dollar Tree. It is 100% cotton by Crafter’s Square. I picked out happy colors with cute geometric shapes, mostly squares and circles. I’ve been having a problem as I’m sewing where my machine tends to slip and slide and won’t stay stationary. As a new sewist, this makes me nervous.
I have some silicone mats, but my machine still slips; not as bad as without anything underneath it. So I decided to make a mat.
The Idea
I got this hot idea to make a mat to sit on top of my silicone mat, I thought the fabric would be thick enough to keep my machine from sliding around my table as I sew. I didn’t know the size of what I wanted but I thought about it measuring approximately 18″ x 14″.
The Inspiration
I wanted to try my hand at a little quilting, but of course on a much smaller scale. So, I looked on Youtube for a tutorial and I found one that was pretty easy to follow. You can watch it here. I did alter mine from the video as I wanted a smaller size.
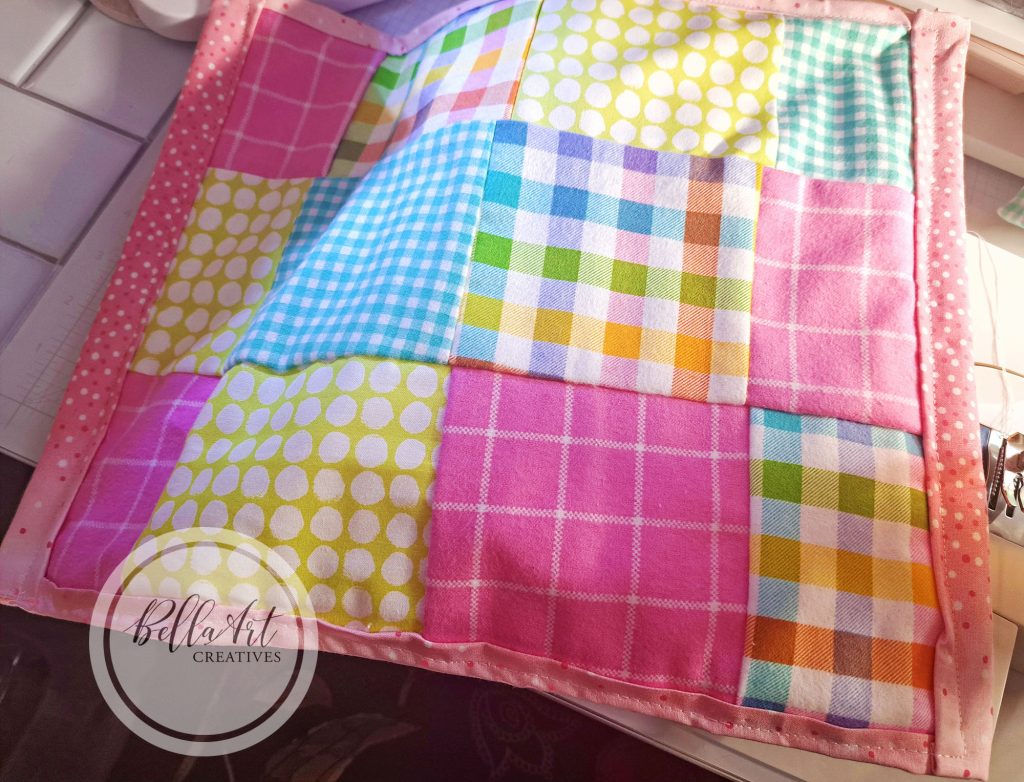
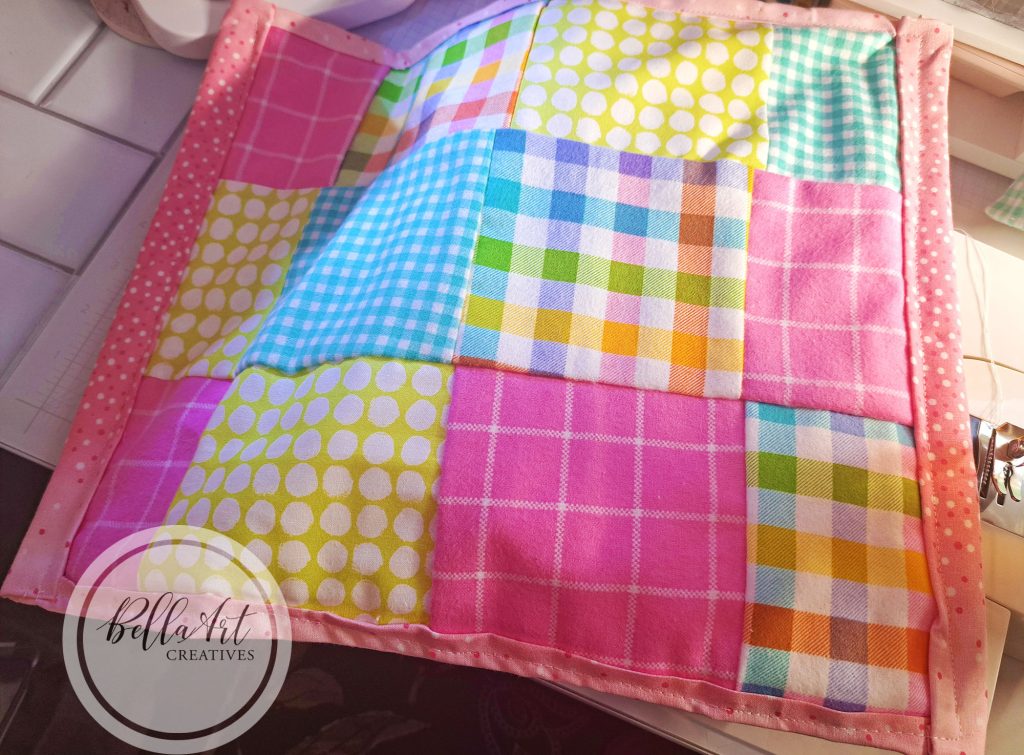
I cut my fabrics into twelve (12) 5″ x 5″ squares. BTW, my new rotary cutter arrived and it is awesome! I’ll have a link to it at the bottom of this post! I made a total of 12 squares, 4 across x 4 down. I laid out my squares on my table to decide how I wanted my pattern to look.
I also pulled out some cotton batting and one more piece of fabric for the back and to create a hem around the front. I was pretty happy with my design choice.
Sewing Gone Wrong
After laying out all the squares, I began sewing them together one square at a time. I turned over one square on top of the one I wanted it to be next to. I only needed to sew along the right side like 1/4″ from the edges. Sounds simple, right?
Here’s where I went off base…my 1st mistake was I didn’t look at my stitches to see that the squares weren’t sewn evenly. I should know to stop and look because it’s the same thing in yarning or cooking. I never cook a meal without tasting it along the way to ensure it has enough seasoning so I don’t know what I was thinking! :O
I sewed all my 12 squares together and at the end finally I looked at the piece! OH MY GOODNESS GRACIOUS! My squares were off center, not lined up correctly, my stitches were wonky and not straight, again a hot mess! BTW, I heat pressed my fabrics with my Cricut mini press on the wrong side when all the squares were attached.
And then, I fumbled by cutting my batting too short! To make matters worse, my fabric on the back should only have had a seam allowance of about 1/4″ all the way around but again, I was out of my mind and I folded it on the left and right too much because my batting was too small.
Why didn’t I just cut another piece of batting to the right size? Why didn’t I rip out my stitches and start again to better line up the squares? Don’t even ask me!! Nevertheless, this is a learning lesson and I’m sharing this post and pictures as part of my sewing journey.
Learned Lessons
I’m reminded of some valuable lessons:
- Take a look at my stitches to ensure they’re in the right place and they’re straight before moving on.
- Rip out any stitches that aren’t sewed right, because mistakes will show up at the end. Nothing is wrong with starting over.
- Take my time, there’s no deadlines, no pressure to finish.
- Enjoy the journey.
- Stop trying to be perfect.
- Keep practicing.
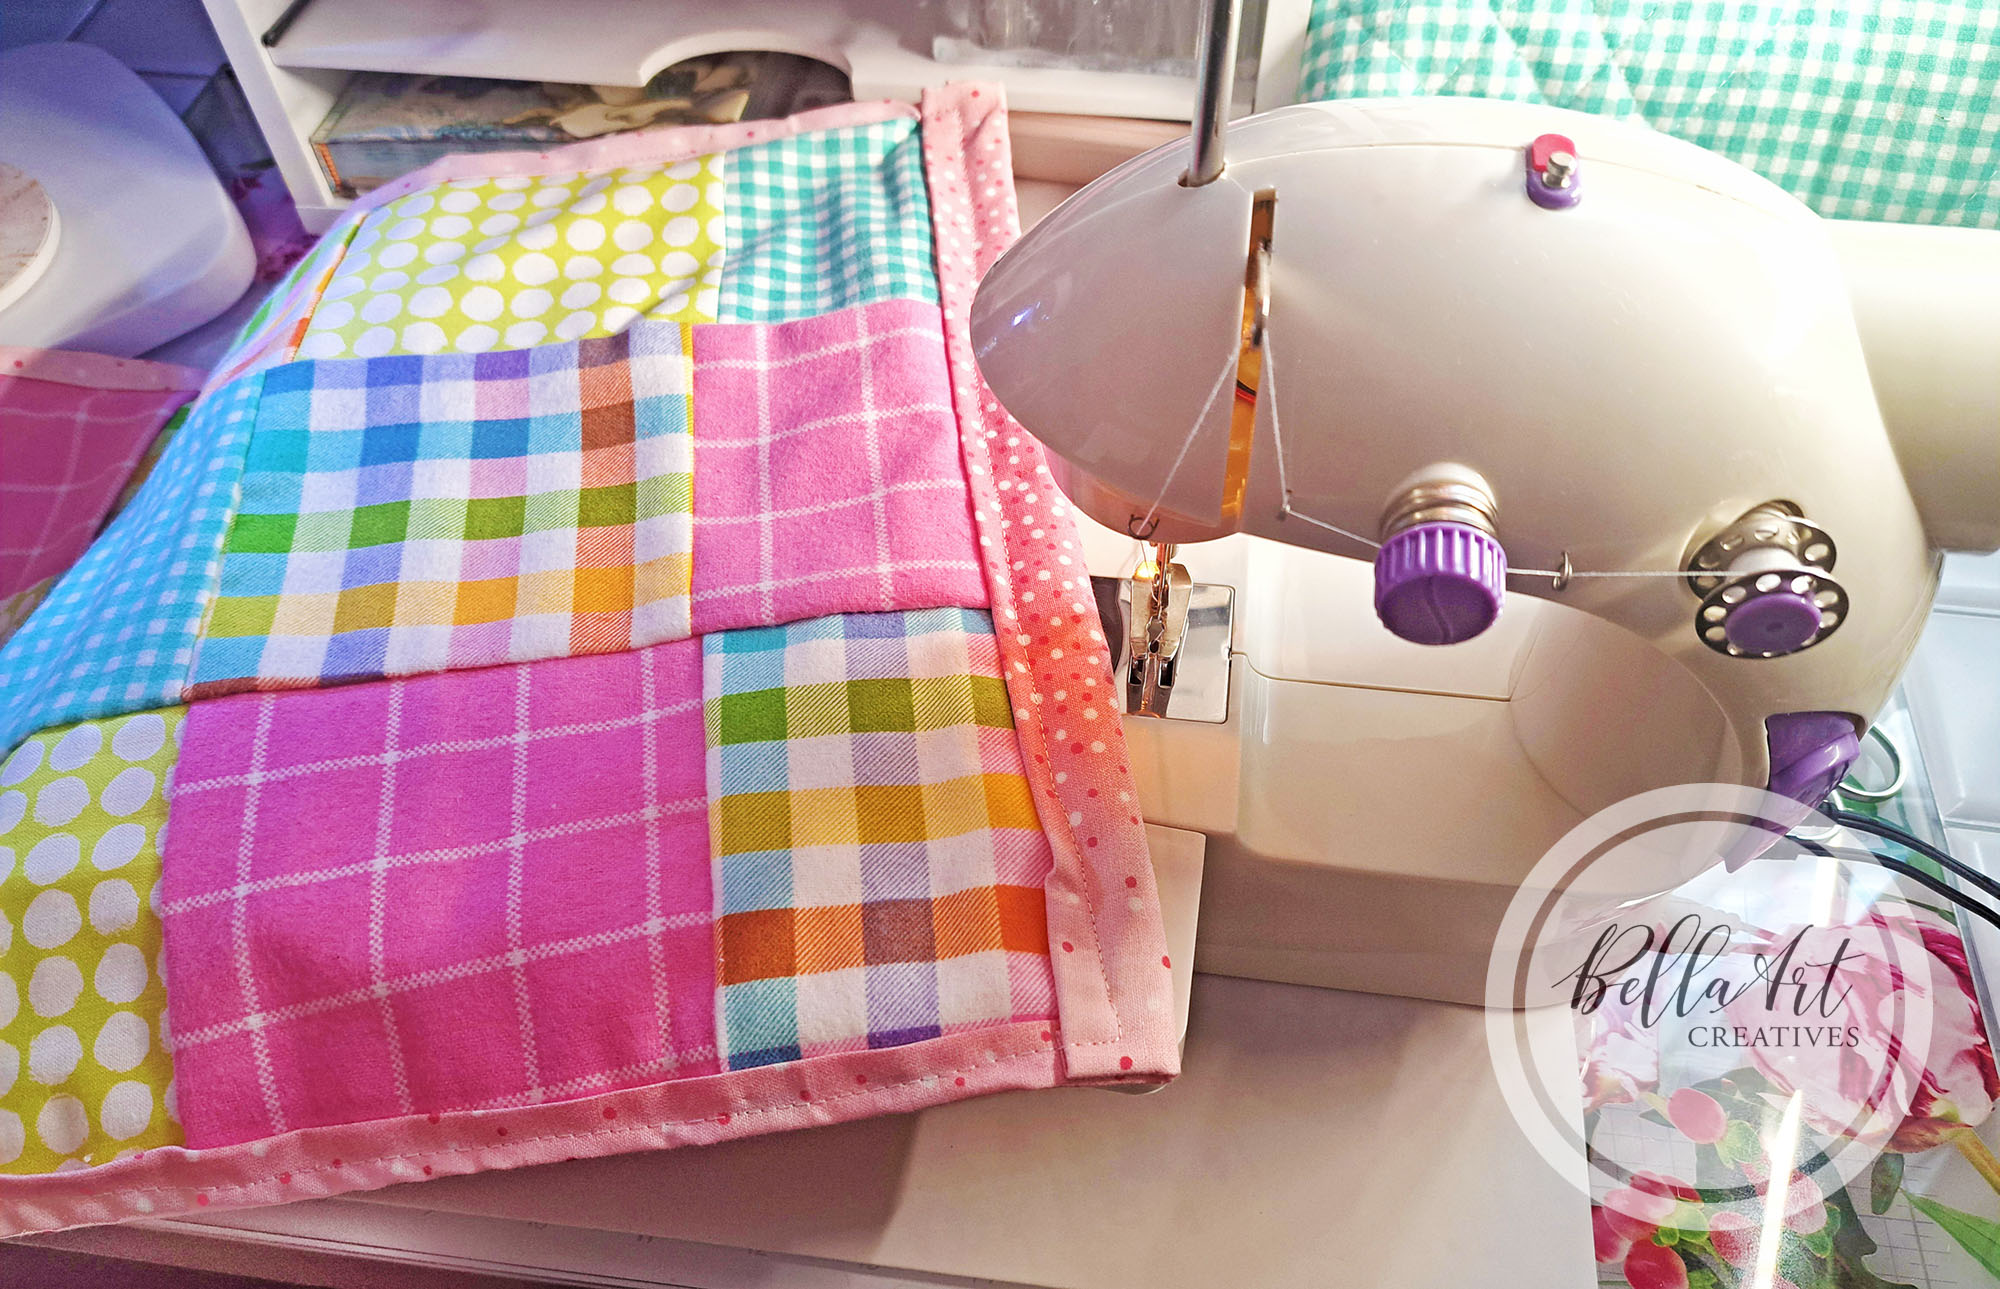
That said, I actually love this mat, it is functional, it’s bright and cheery, I love the patterns. The fabric is absolutely beautiful. I think I did a great job picking out what squares should sit together. The colors all compliment each other. The finished size measured 17-1/2″ x 14″ just perfect for my sewing machine with the extended table.
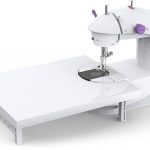
And, my Varmax Mini Sewing Machine did wonderful! It sewed through two pieces of fabric with the batting with no problem. Check out my post here where I introduced purchasing it.
I am happy to use it and I do intend to make it again. I have plenty of scrap fabric left over to do another one. It’ll be great practice and for me practice doesn’t make perfect, it makes it better!
I hope you enjoyed this post and got a great laugh! If you have any good tips for me, please feel free to share cause I can use all the help!
Thanks for Reading!
If you want to shop this post, here’s links to products I used.
Some of the links to the products I used are affiliate links which means that when you shop with them, I’ll receive a small commission at no extra cost to you. Your support helps me run my small crafty business. Thank you so much!
- Varmax Mini Sewing Machine – AZ
- Basic Sewing kits
- Organizer Bag (comes with double layers that can be removed to fit the mini machine)
- Fabrics – AZ, for the ones I used, try your local Dollar Tree
- Guggenhein IX 9″ Scissors for Cutting Fabric
- Rotary Cutter
- Cotton Batting
- Self Healing Mat